Hooks & Filters
Endpoints and hooks marked (Pro) require WPMediaVerse Pro.
All hooks and filters use the mvs_ prefix.
Actions
mvs_before_media_insert
Fires before the mvs_media post is created during an upload. Use this to validate or modify upload args before database insertion.
Parameters: none (fires during UploadService processing)
add_action( 'mvs_before_media_insert', function() {
    // E.g., check quota before insertion.
} );
mvs_media_uploaded
Fires after a new media post is created, stored, and indexed. This is the primary hook for post-upload processing.
Parameters:
| Parameter |
Type |
Description |
$media_id |
int |
The new mvs_media post ID |
add_action( 'mvs_media_uploaded', function( int $media_id ) {
    // Send a notification, trigger a third-party sync, etc.
} );
mvs_before_upload_form
Fires before the upload form HTML is rendered (both block and [mvs_upload] shortcode). Use this to display quota information or custom notices.
Parameters: none
add_action( 'mvs_before_upload_form', function() {
    echo '<p class="mvs-quota-info">You have used X of Y MB.</p>';
} );
mvs_reaction_added
Fires when a user adds a reaction to a media item.
Parameters:
| Parameter |
Type |
Description |
$media_id |
int |
Media post ID |
$user_id |
int |
User who added the reaction |
$reaction_type |
string |
Reaction type (e.g., love, wow) |
add_action( 'mvs_reaction_added', function( int $media_id, int $user_id, string $type ) {
    // Send push notification, update leaderboard, etc.
}, 10, 3 );
mvs_comment_created
Fires when a comment is posted on a media item.
Parameters:
| Parameter |
Type |
Description |
$comment_id |
int |
New comment ID |
$media_id |
int |
Media post ID |
$user_id |
int |
Commenting user ID |
add_action( 'mvs_comment_created', function( int $comment_id, int $media_id, int $user_id ) {
    // Record engagement metrics.
}, 10, 3 );
mvs_mentions_created
Fires when @mentions are parsed from a new comment.
Parameters:
| Parameter |
Type |
Description |
$mentioned_user_ids |
int[] |
Array of mentioned user IDs |
$comment_id |
int |
Comment containing the mentions |
add_action( 'mvs_mentions_created', function( array $user_ids, int $comment_id ) {
    // Custom mention notifications.
}, 10, 2 );
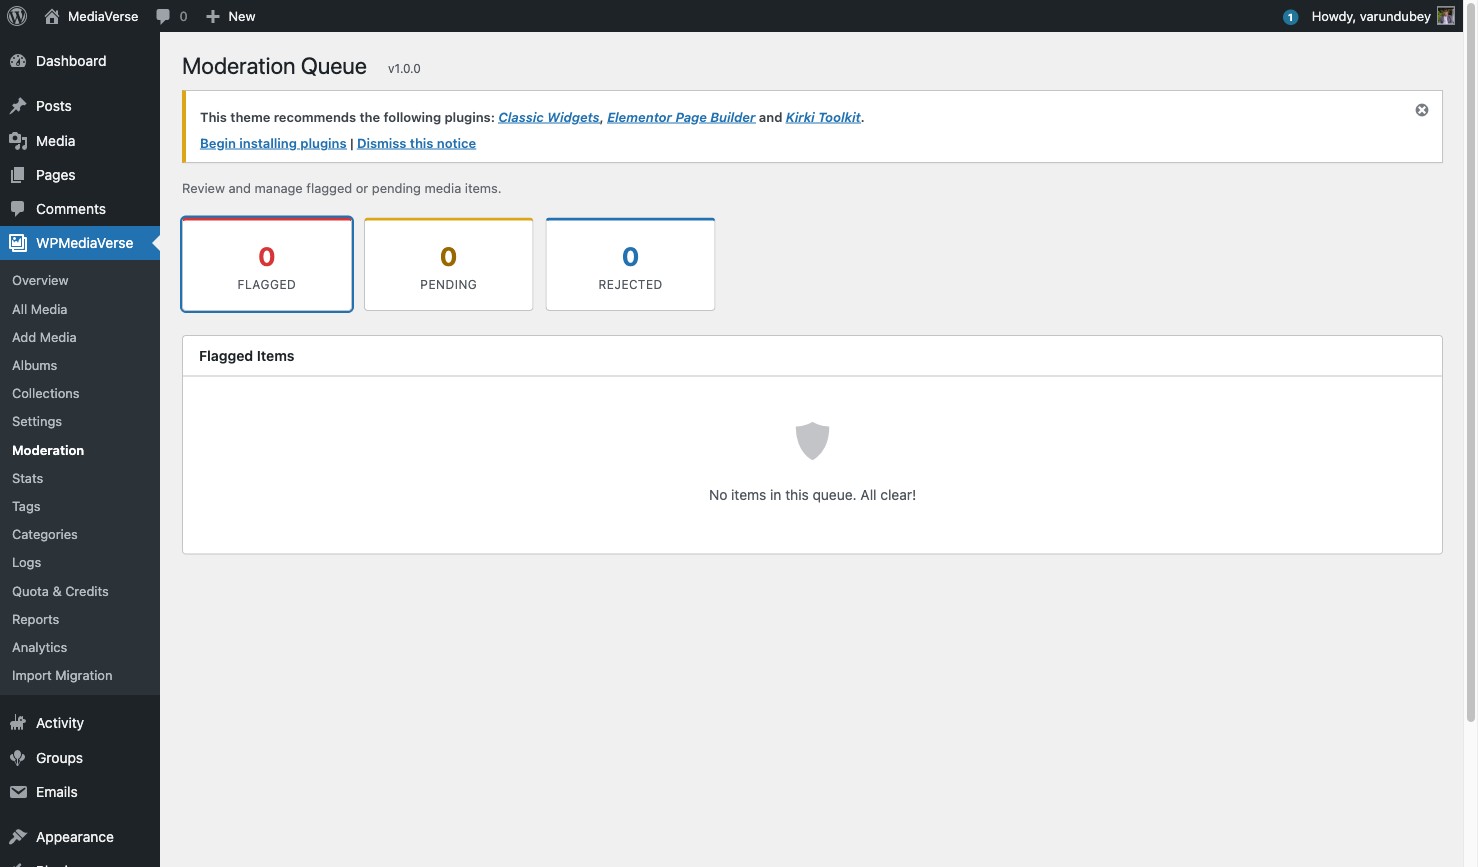
mvs_media_moderated
Fires when a media item's moderation status changes.
Parameters:
| Parameter |
Type |
Description |
$media_id |
int |
Media post ID |
$action |
string |
Moderation action: approved, flagged, rejected |
add_action( 'mvs_media_moderated', function( int $media_id, string $action ) {
    if ( 'rejected' === $action ) {
        // Notify the media owner.
    }
}, 10, 2 );
mvs_album_items_added
Fires when media items are added to an album.
Parameters:
| Parameter |
Type |
Description |
$album_id |
int |
Album post ID |
$media_ids |
int[] |
Array of added media post IDs |
$user_id |
int |
User who added the items |
mvs_media_group_assigned
Fires when a media item is assigned to a BuddyPress group.
Parameters:
| Parameter |
Type |
Description |
$media_id |
int |
Media post ID |
$group_id |
int |
BuddyPress group ID |
mvs_register_ai_providers
Fires during plugin init to allow registering custom AI providers.
Parameters:
| Parameter |
Type |
Description |
$ai_service |
AIService |
The AI service instance |
add_action( 'mvs_register_ai_providers', function( $ai_service ) {
    $ai_service->register_provider( new MyAIProvider() );
} );
mvs_loaded
Fires after the plugin is fully initialized and the DI container is ready. Use this instead of plugins_loaded when you need access to WPMediaVerse services.
Parameters: none
add_action( 'mvs_loaded', function() {
    // Safe to resolve services from the container here.
} );
mvs_favorite_toggled
Fires when a user adds or removes a media item from favorites.
Parameters:
| Parameter |
Type |
Description |
$media_id |
int |
Media post ID |
$user_id |
int |
User who toggled the favorite |
$is_favorited |
bool |
true if added, false if removed |
add_action( 'mvs_favorite_toggled', function( int $media_id, int $user_id, bool $is_favorited ) {
    if ( $is_favorited ) {
        // Award points, send notification, etc.
    }
}, 10, 3 );
mvs_media_deleted
Fires after a media item is permanently deleted (post and stored file removed).
Parameters:
| Parameter |
Type |
Description |
$media_id |
int |
Deleted media post ID |
add_action( 'mvs_media_deleted', function( int $media_id ) {
    // Remove from external CDN, clean up third-party records, etc.
} );
mvs_reaction_toggled
Fires when a user adds, changes, or removes a reaction on a media item.
Parameters:
| Parameter |
Type |
Description |
$media_id |
int |
Media post ID |
$user_id |
int |
User who changed the reaction |
$type |
string|null |
Reaction type (e.g., love) or null if removed |
add_action( 'mvs_reaction_toggled', function( int $media_id, int $user_id, $type ) {
    // Update leaderboard or send notification.
}, 10, 3 );
mvs_tags_merged
Fires after two tags are merged. All media previously tagged with $source_tag_id now carry $target_tag_id.
Parameters:
| Parameter |
Type |
Description |
$source_tag_id |
int |
The tag that was merged (now deleted) |
$target_tag_id |
int |
The surviving tag |
add_action( 'mvs_tags_merged', function( int $source_tag_id, int $target_tag_id ) {
    // Sync tag changes to external search index.
}, 10, 2 );
mvs_media_flagged
Fires after AI content moderation flags a media item.
Parameters:
| Parameter |
Type |
Description |
$media_id |
int |
Media post ID |
$result |
array |
AI analysis result array |
add_action( 'mvs_media_flagged', function( int $media_id, array $result ) {
    // Alert moderation team via Slack, etc.
}, 10, 2 );
mvs_report_submitted
Fires when a user files a content report.
Parameters:
| Parameter |
Type |
Description |
$media_id |
int |
Reported media post ID |
$user_id |
int |
User who submitted the report |
$reason |
string |
Report reason slug |
add_action( 'mvs_report_submitted', function( int $media_id, int $user_id, string $reason ) {
    // Escalate automatically for severe reasons.
}, 10, 3 );
mvs_user_blocked
Fires when one user blocks another.
Parameters:
| Parameter |
Type |
Description |
$blocker_id |
int |
User ID who initiated the block |
$blocked_id |
int |
User ID who was blocked |
add_action( 'mvs_user_blocked', function( int $blocker_id, int $blocked_id ) {
    // Remove from follower lists, clean DM threads, etc.
}, 10, 2 );
mvs_story_created
Fires after a story is published. Stories have a finite TTL and expire automatically.
Parameters:
| Parameter |
Type |
Description |
$story_id |
int |
Media post ID of the new story |
$user_id |
int |
Author user ID |
add_action( 'mvs_story_created', function( int $story_id, int $user_id ) {
    // Notify followers of the new story.
}, 10, 2 );
mvs_story_expired
Fires when the scheduled cron removes an expired story.
Parameters:
| Parameter |
Type |
Description |
$story_id |
int |
Media post ID of the expired story |
add_action( 'mvs_story_expired', function( int $story_id ) {
    // Archive to external storage before deletion.
} );
mvs_user_followed
Fires when a follow relationship is created.
Parameters:
| Parameter |
Type |
Description |
$follower_id |
int |
User who followed |
$following_id |
int |
User who was followed |
add_action( 'mvs_user_followed', function( int $follower_id, int $following_id ) {
    // Send a "new follower" notification.
}, 10, 2 );
mvs_user_unfollowed
Fires when a follow relationship is removed.
Parameters:
| Parameter |
Type |
Description |
$follower_id |
int |
User who unfollowed |
$following_id |
int |
User who was unfollowed |
add_action( 'mvs_user_unfollowed', function( int $follower_id, int $following_id ) {
    // Update follower count caches.
}, 10, 2 );
mvs_conversation_created
Fires after a new DM conversation is created.
Parameters:
| Parameter |
Type |
Description |
$conversation_id |
int |
New conversation ID |
$creator_id |
int |
User who started the conversation |
add_action( 'mvs_conversation_created', function( int $conversation_id, int $creator_id ) {
    // Bootstrap real-time channel subscriptions.
}, 10, 2 );
mvs_message_sent
Fires after a DM is stored.
Parameters:
| Parameter |
Type |
Description |
$message_id |
int |
New message ID |
$conversation_id |
int |
Conversation the message belongs to |
$sender_id |
int |
Sending user ID |
add_action( 'mvs_message_sent', function( int $message_id, int $conversation_id, int $sender_id ) {
    // Push via WebSocket or push notification.
}, 10, 3 );
mvs_message_request_accepted
Fires when a user accepts a DM message request.
Parameters:
| Parameter |
Type |
Description |
$conversation_id |
int |
Conversation ID |
$user_id |
int |
User who accepted the request |
add_action( 'mvs_message_request_accepted', function( int $conversation_id, int $user_id ) {
    // Notify the original sender.
}, 10, 2 );
mvs_profile_updated
Fires after a user's profile is saved.
Parameters:
| Parameter |
Type |
Description |
$user_id |
int |
User ID |
$fields |
array |
Key/value pairs of updated fields |
add_action( 'mvs_profile_updated', function( int $user_id, array $fields ) {
    // Sync to CRM or external profile service.
}, 10, 2 );
mvs_avatar_uploaded
Fires after a user uploads a custom avatar.
Parameters:
| Parameter |
Type |
Description |
$user_id |
int |
User ID |
$url |
string |
Public URL of the new avatar |
add_action( 'mvs_avatar_uploaded', function( int $user_id, string $url ) {
    // Resize and push to CDN.
}, 10, 2 );
mvs_privacy_changed
Fires when the privacy level of a media item is changed.
Parameters:
| Parameter |
Type |
Description |
$media_id |
int |
Media post ID |
$new_privacy |
string |
New privacy level |
$old_privacy |
string |
Previous privacy level |
add_action( 'mvs_privacy_changed', function( int $media_id, string $new_privacy, string $old_privacy ) {
    // Invalidate signed URLs or CDN cache.
}, 10, 3 );
mvs_media_shared
Fires when a user shares a media item to an external platform.
Parameters:
| Parameter |
Type |
Description |
$media_id |
int |
Media post ID |
$user_id |
int |
User who shared |
$platform |
string |
Target platform slug (e.g., twitter, facebook) |
add_action( 'mvs_media_shared', function( int $media_id, int $user_id, string $platform ) {
    // Record share analytics.
}, 10, 3 );
mvs_moderation_changed
Fires when a media item's moderation status changes via the REST API or admin UI.
Parameters:
| Parameter |
Type |
Description |
$media_id |
int |
Media post ID |
$new_status |
string |
New moderation status: approved, rejected, flagged |
$old_status |
string |
Previous moderation status |
add_action( 'mvs_moderation_changed', function( int $media_id, string $new_status, string $old_status ) {
    // Notify the media owner of the decision.
}, 10, 3 );
Filters
mvs_upload_args
Filters the upload arguments before file processing. Return a WP_Error to reject the upload.
Parameters:
| Parameter |
Type |
Description |
$upload_args |
array |
Array with keys: mime, media_type, file_size, file_name |
$user_id |
int |
Uploading user ID |
Returns: array|WP_Error
add_filter( 'mvs_upload_args', function( array $args, int $user_id ) {
    // Reject uploads larger than 10 MB for subscribers.
    if ( $args['file_size'] > 10 * MB_IN_BYTES && ! user_can( $user_id, 'upload_files' ) ) {
        return new WP_Error( 'quota_exceeded', 'Upload limit exceeded for your plan.' );
    }
    return $args;
}, 10, 2 );
mvs_privacy_can_view
Filters the privacy access check result. Return null to use the built-in check, true to grant access, or false to deny.
Parameters:
| Parameter |
Type |
Description |
$result |
bool|null |
Current result (null = use default) |
$media_id |
int |
Media post ID |
$user_id |
int |
User ID (0 for anonymous) |
$privacy |
string |
Media privacy level |
Returns: bool|null
add_filter( 'mvs_privacy_can_view', function( $result, int $media_id, int $user_id, string $privacy ) {
    if ( 'group' === $privacy && my_custom_group_check( $media_id, $user_id ) ) {
        return true;
    }
    return $result;
}, 10, 4 );
mvs_locate_template
Filters the resolved template path. Use this to provide templates from a custom location.
Parameters:
| Parameter |
Type |
Description |
$template |
string |
Resolved template file path |
$template_name |
string |
Template filename (e.g., media-single.php) |
$template_path |
string |
Subdirectory within the template directory |
Returns: string
add_filter( 'mvs_locate_template', function( string $template, string $name ) {
    $custom = get_stylesheet_directory() . '/my-theme-media/' . $name;
    return file_exists( $custom ) ? $custom : $template;
}, 10, 2 );
mvs_media_response
Filters the REST API response object for a single media item. Use this to add or remove fields before the response is sent.
Parameters:
| Parameter |
Type |
Description |
$data |
array |
REST response data array |
$media_id |
int |
Media post ID |
Returns: array
add_filter( 'mvs_media_response', function( array $data, int $media_id ) {
    $data['custom_field'] = get_post_meta( $media_id, '_custom_field', true );
    return $data;
}, 10, 2 );
mvs_comment_edit_window
Filters the time window (in seconds) within which a user can edit their own comment. Default: 900 (15 minutes).
Parameters: none (scalar filter)
Returns: int
add_filter( 'mvs_comment_edit_window', function() {
    return 1800; // Extend to 30 minutes.
} );
mvs_can_send_message
Filters whether a user is allowed to send a DM to a recipient. Return false to block the send.
Parameters:
| Parameter |
Type |
Description |
$can |
bool |
Current permission result |
$sender_id |
int |
Sending user ID |
$recipient_id |
int |
Receiving user ID |
Returns: bool
add_filter( 'mvs_can_send_message', function( bool $can, int $sender_id, int $recipient_id ) {
    // Block DMs for unverified accounts.
    if ( ! my_is_verified( $sender_id ) ) {
        return false;
    }
    return $can;
}, 10, 3 );
mvs_dm_message_rate_limit
Filters the maximum number of DM messages a user can send per minute. Default: 20.
Parameters: none (scalar filter)
Returns: int
add_filter( 'mvs_dm_message_rate_limit', function() {
    return 10; // Tighter limit for free-tier users.
} );
mvs_message_max_length
Filters the maximum character length for a single DM message. Default: 2000.
Parameters: none (scalar filter)
Returns: int
add_filter( 'mvs_message_max_length', function() {
    return 500;
} );
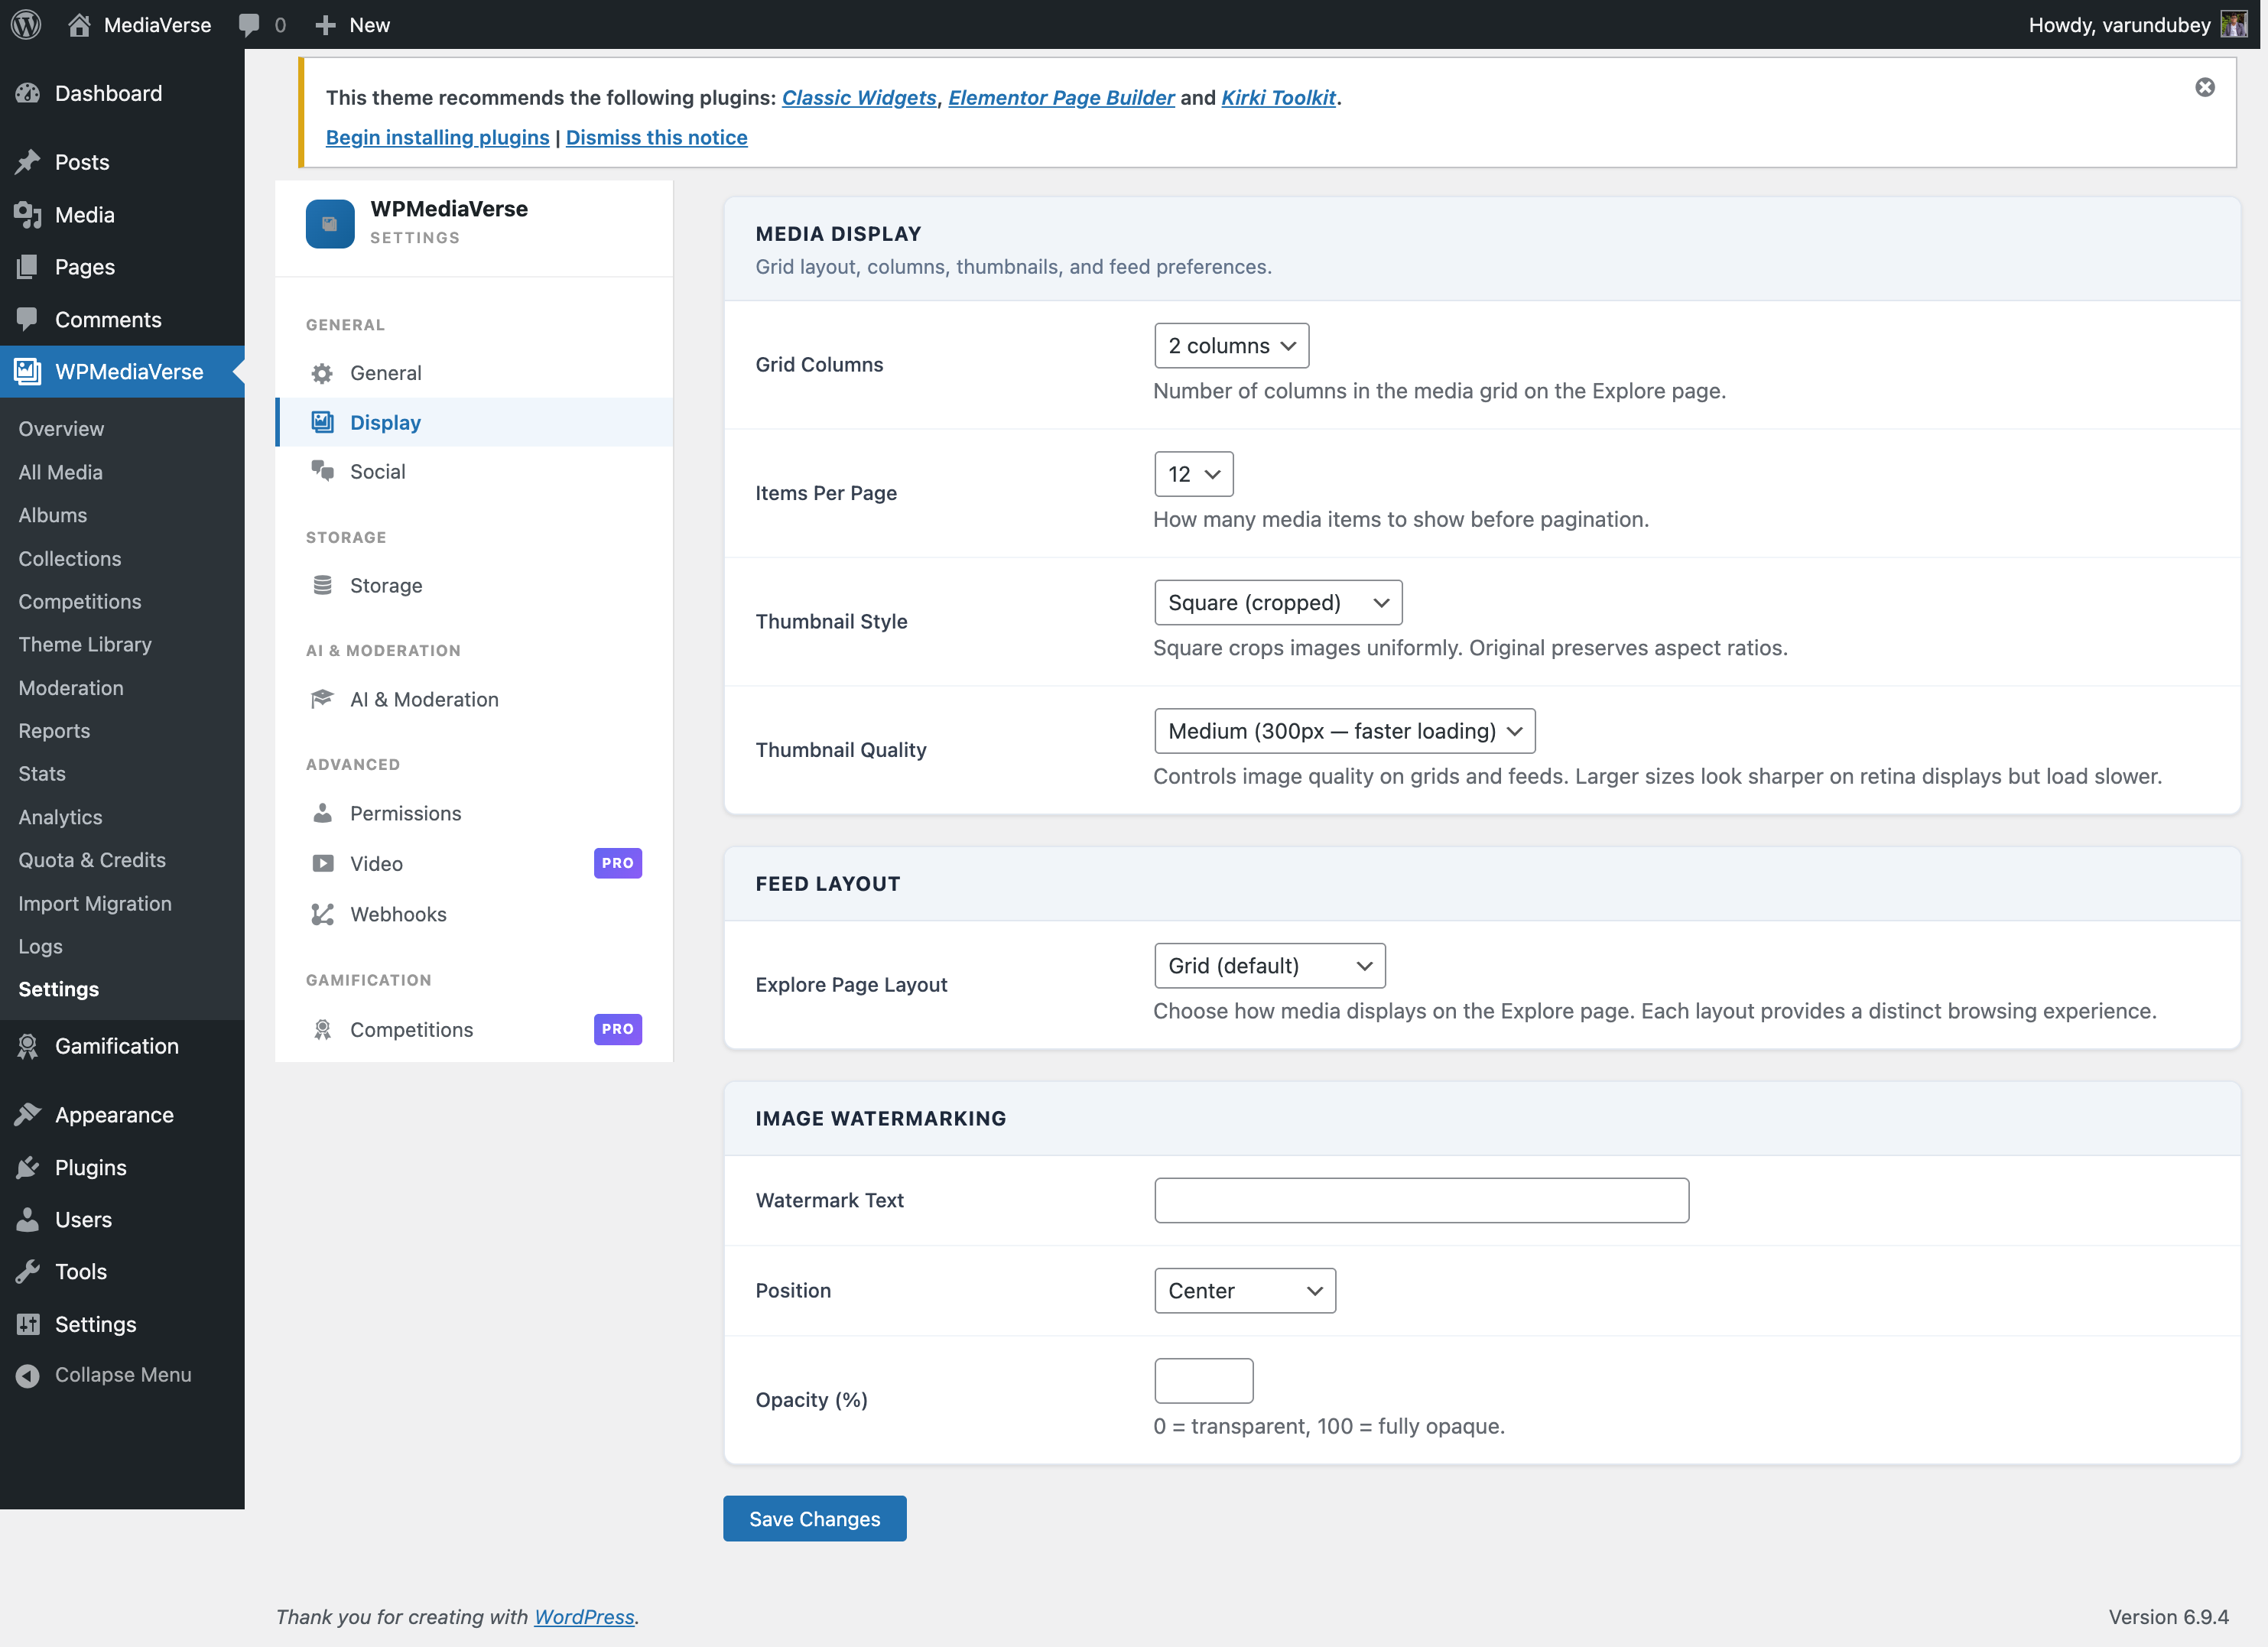
mvs_watermark_enabled
Filters whether a watermark is applied to a specific media item.
Parameters:
| Parameter |
Type |
Description |
$enabled |
bool |
Whether watermarking is currently enabled |
$media_id |
int |
Media post ID |
Returns: bool
add_filter( 'mvs_watermark_enabled', function( bool $enabled, int $media_id ) {
    // Disable watermark for media in the "portfolio" album.
    if ( get_post_meta( $media_id, '_album_slug', true ) === 'portfolio' ) {
        return false;
    }
    return $enabled;
}, 10, 2 );
mvs_watermark_config
Filters the watermark configuration array before the watermark is rendered.
Parameters:
| Parameter |
Type |
Description |
$config |
array |
Watermark config: position, opacity, image_url, text |
Returns: array
add_filter( 'mvs_watermark_config', function( array $config ) {
    $config['opacity'] = 0.3;
    $config['position'] = 'bottom-right';
    return $config;
} );
mvs_user_display_name
Filters a user's display name. Pro uses this to append a streak badge.
Parameters:
| Parameter |
Type |
Description |
$name |
string |
Current display name |
$user_id |
int |
User ID |
Returns: string
add_filter( 'mvs_user_display_name', function( string $name, int $user_id ) {
    if ( my_is_verified( $user_id ) ) {
        $name .= ' (verified)';
    }
    return $name;
}, 10, 2 );
mvs_user_profile_url
Filters the public profile URL for a user.
Parameters:
| Parameter |
Type |
Description |
$url |
string |
Default profile URL |
$user_id |
int |
User ID |
Returns: string
add_filter( 'mvs_user_profile_url', function( string $url, int $user_id ) {
    // Point to a custom profile page route.
    return home_url( '/members/' . get_userdata( $user_id )->user_login . '/' );
}, 10, 2 );
mvs_storage_driver
Filters the active storage driver slug. Use this to override the driver set in Settings, for example to switch between local and S3 per-environment.
Parameters:
| Parameter |
Type |
Description |
$driver_slug |
string |
Current driver slug (e.g., local, s3, b2) |
Returns: string
add_filter( 'mvs_storage_driver', function( string $driver ) {
    return defined( 'MVS_STORAGE_DRIVER' ) ? MVS_STORAGE_DRIVER : $driver;
} );
mvs_openai_api_key
Filters the OpenAI API key used for AI moderation and tagging. Use this to supply the key from a secrets manager instead of the database.
Parameters:
| Parameter |
Type |
Description |
$key |
string |
API key from plugin settings |
Returns: string
add_filter( 'mvs_openai_api_key', function() {
    return defined( 'OPENAI_API_KEY' ) ? OPENAI_API_KEY : '';
} );
mvs_avatar_max_size
Filters the maximum allowed avatar upload size in bytes. Default: 2097152 (2 MB).
Parameters: none (scalar filter)
Returns: int
add_filter( 'mvs_avatar_max_size', function() {
    return 5 * MB_IN_BYTES; // Allow up to 5 MB.
} );
mvs_dm_max_upload_size
Filters the maximum allowed size in bytes for a DM attachment upload. Default: inherits from mvs_avatar_max_size base value unless overridden.
Parameters: none (scalar filter)
Returns: int
add_filter( 'mvs_dm_max_upload_size', function() {
    return 10 * MB_IN_BYTES;
} );
Additional Free Actions
These actions are available in the free plugin:
| Hook |
When |
Parameters |
mvs_access_rule_created |
Access rule created for a media item |
$media_id, $rule_id, $rule_data |
mvs_access_rule_deleted |
Access rule removed |
$media_id, $rule_id |
mvs_access_granted |
User granted access to restricted media |
$media_id, $user_id, $source |
mvs_access_revoked |
User access revoked |
$media_id, $user_id |
mvs_avatar_deleted |
Custom avatar removed |
$user_id |
mvs_conversation_read |
User reads a DM conversation |
$conversation_id, $user_id |
mvs_message_deleted |
Message deleted (soft or hard) |
$message_id, $user_id, $is_unsend |
mvs_message_reaction_added |
Emoji reaction added to a message |
$message_id, $user_id, $emoji |
mvs_voice_message_sent |
Voice message sent in DM |
$message_id, $conversation_id, $duration |
mvs_watermark_invalidated |
Single media watermark cleared |
$media_id |
mvs_watermarks_invalidated_all |
All watermarks cleared site-wide |
-- |
mvs_settings_sidebar_after |
After settings sidebar sections render |
-- |
Additional Free Filters
| Filter |
Description |
Parameters |
Default |
mvs_activity_types |
Register activity feed types |
$types |
Built-in types |
mvs_activity_max_media |
Max media per activity post |
$count |
6 |
mvs_avatar_allowed_types |
Allowed MIME types for avatar upload |
$types |
JPEG, PNG, GIF, WebP |
mvs_buddynext_active |
Whether BuddyNext integration is active |
$active |
Auto-detected |
mvs_generate_watermark |
Override watermark generation |
$image, $media_id, $config |
null |
mvs_locate_template |
Override template file location |
$path, $template_name, $subdir |
Plugin template |
mvs_media_metadata |
Filter extracted media metadata |
$metadata, $media_id |
Raw metadata |
mvs_privacy_can_view |
Override privacy access check |
$allowed, $media_id, $user_id, $privacy |
null |
mvs_profile_data |
Filter profile data in REST response |
$data, $user_id |
Raw profile |
mvs_profile_update_fields |
Filter allowed profile update fields |
$fields, $user_id |
Default fields |
mvs_settings_sections |
Register settings sidebar sections |
$sections |
Built-in sections |
mvs_settings_group_labels |
Override settings group labels |
$labels |
Default labels |
mvs_show_online_status |
Filter online status visibility |
$show, $viewer_id, $user_id |
Based on setting |
mvs_theme_json |
Filter theme.json data |
$data |
Default theme.json |
bp_activity_allowed_tags (BP filter extended by WPMediaVerse)
WPMediaVerse extends this filter to allow its custom HTML attributes through BP kses sanitization. This is handled internally and does not require developer configuration.
BuddyPress-Specific Actions
These actions are fired by BuddyPressIntegration and only run when BuddyPress is active.
| Hook |
When |
Parameters |
mvs_bp_upload_activity_recorded |
After upload activity is saved to BP |
$activity_id, $media_id |
mvs_bp_comment_activity_recorded |
After comment activity is saved to BP |
$activity_id, $comment_id |
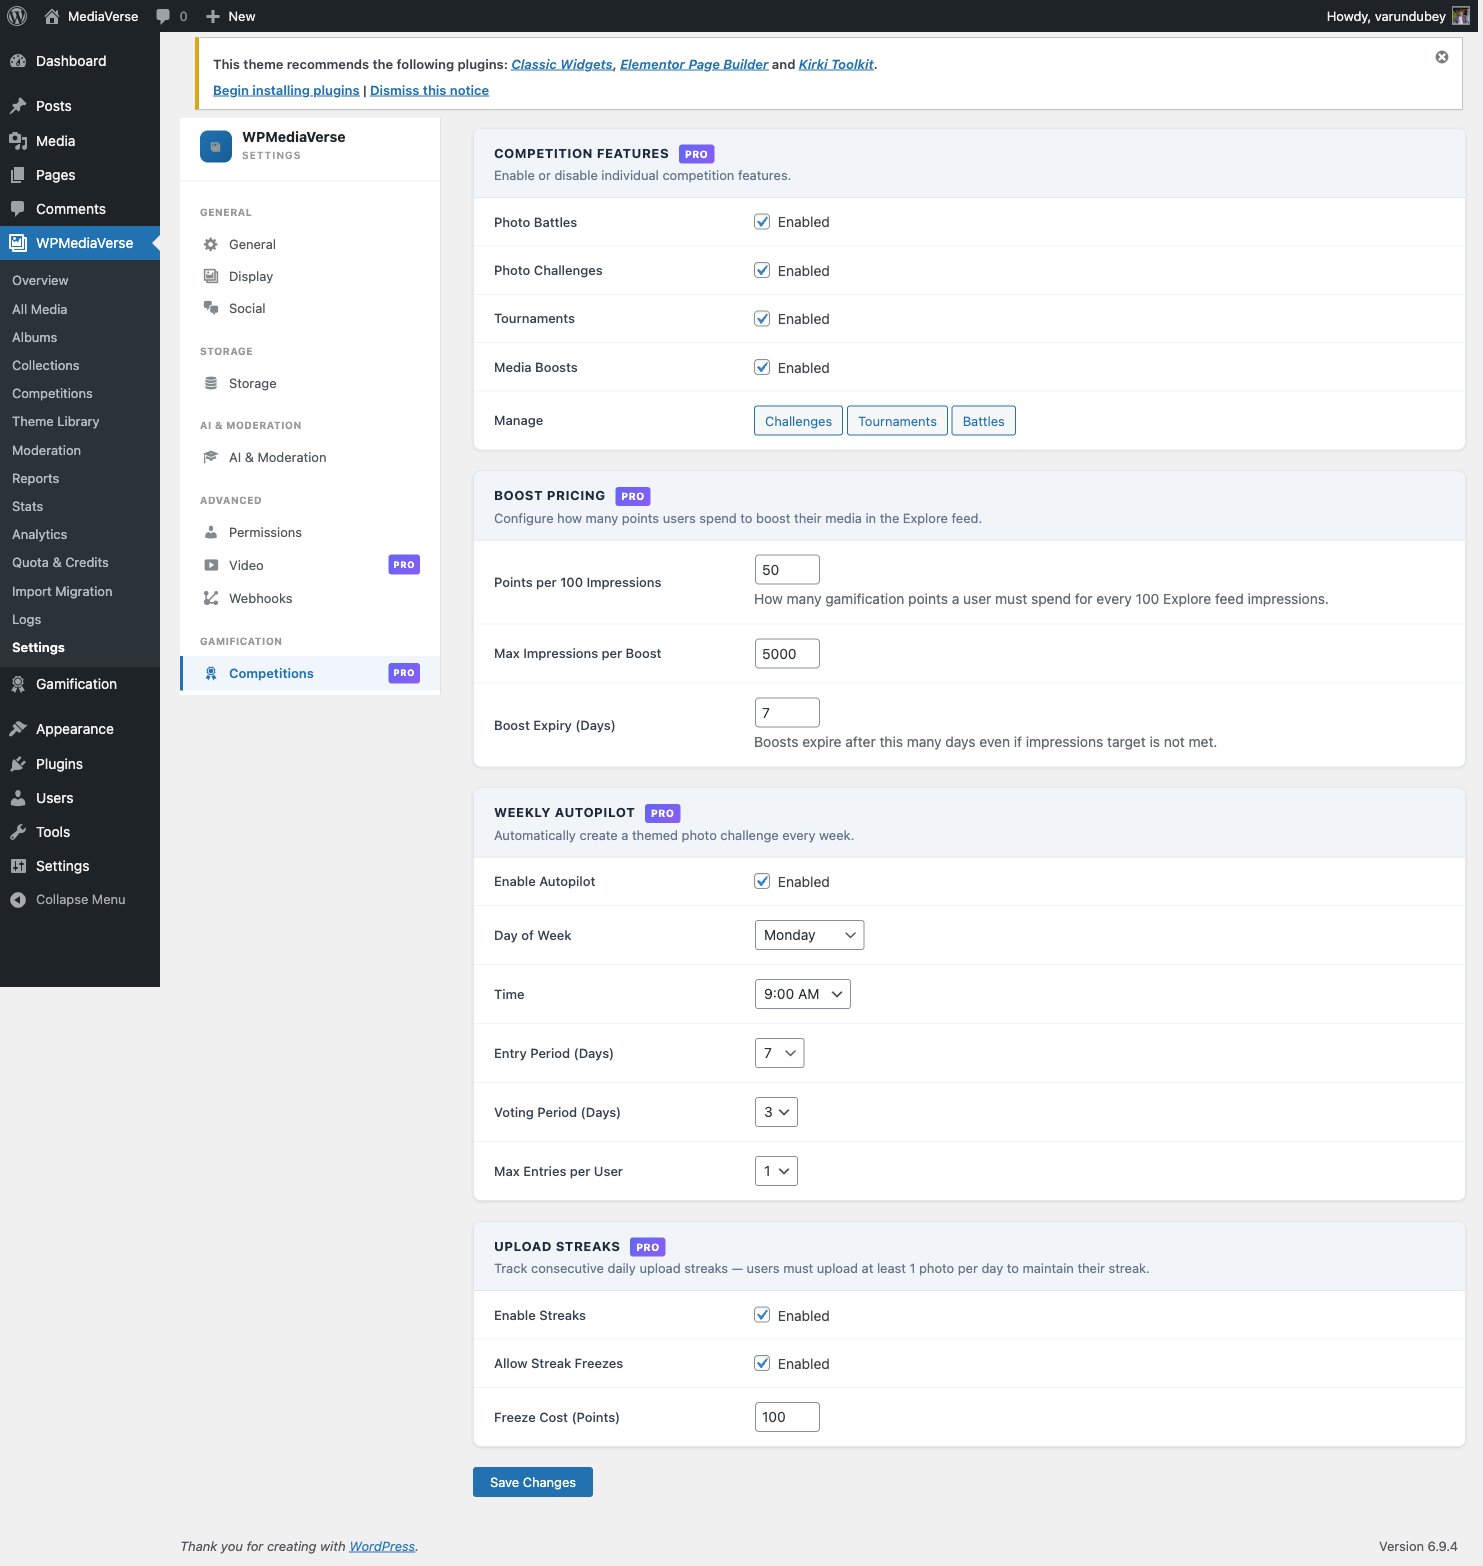
Pro-Only Actions (Pro)
These actions are fired by WPMediaVerse Pro and only available when the Pro plugin is active.
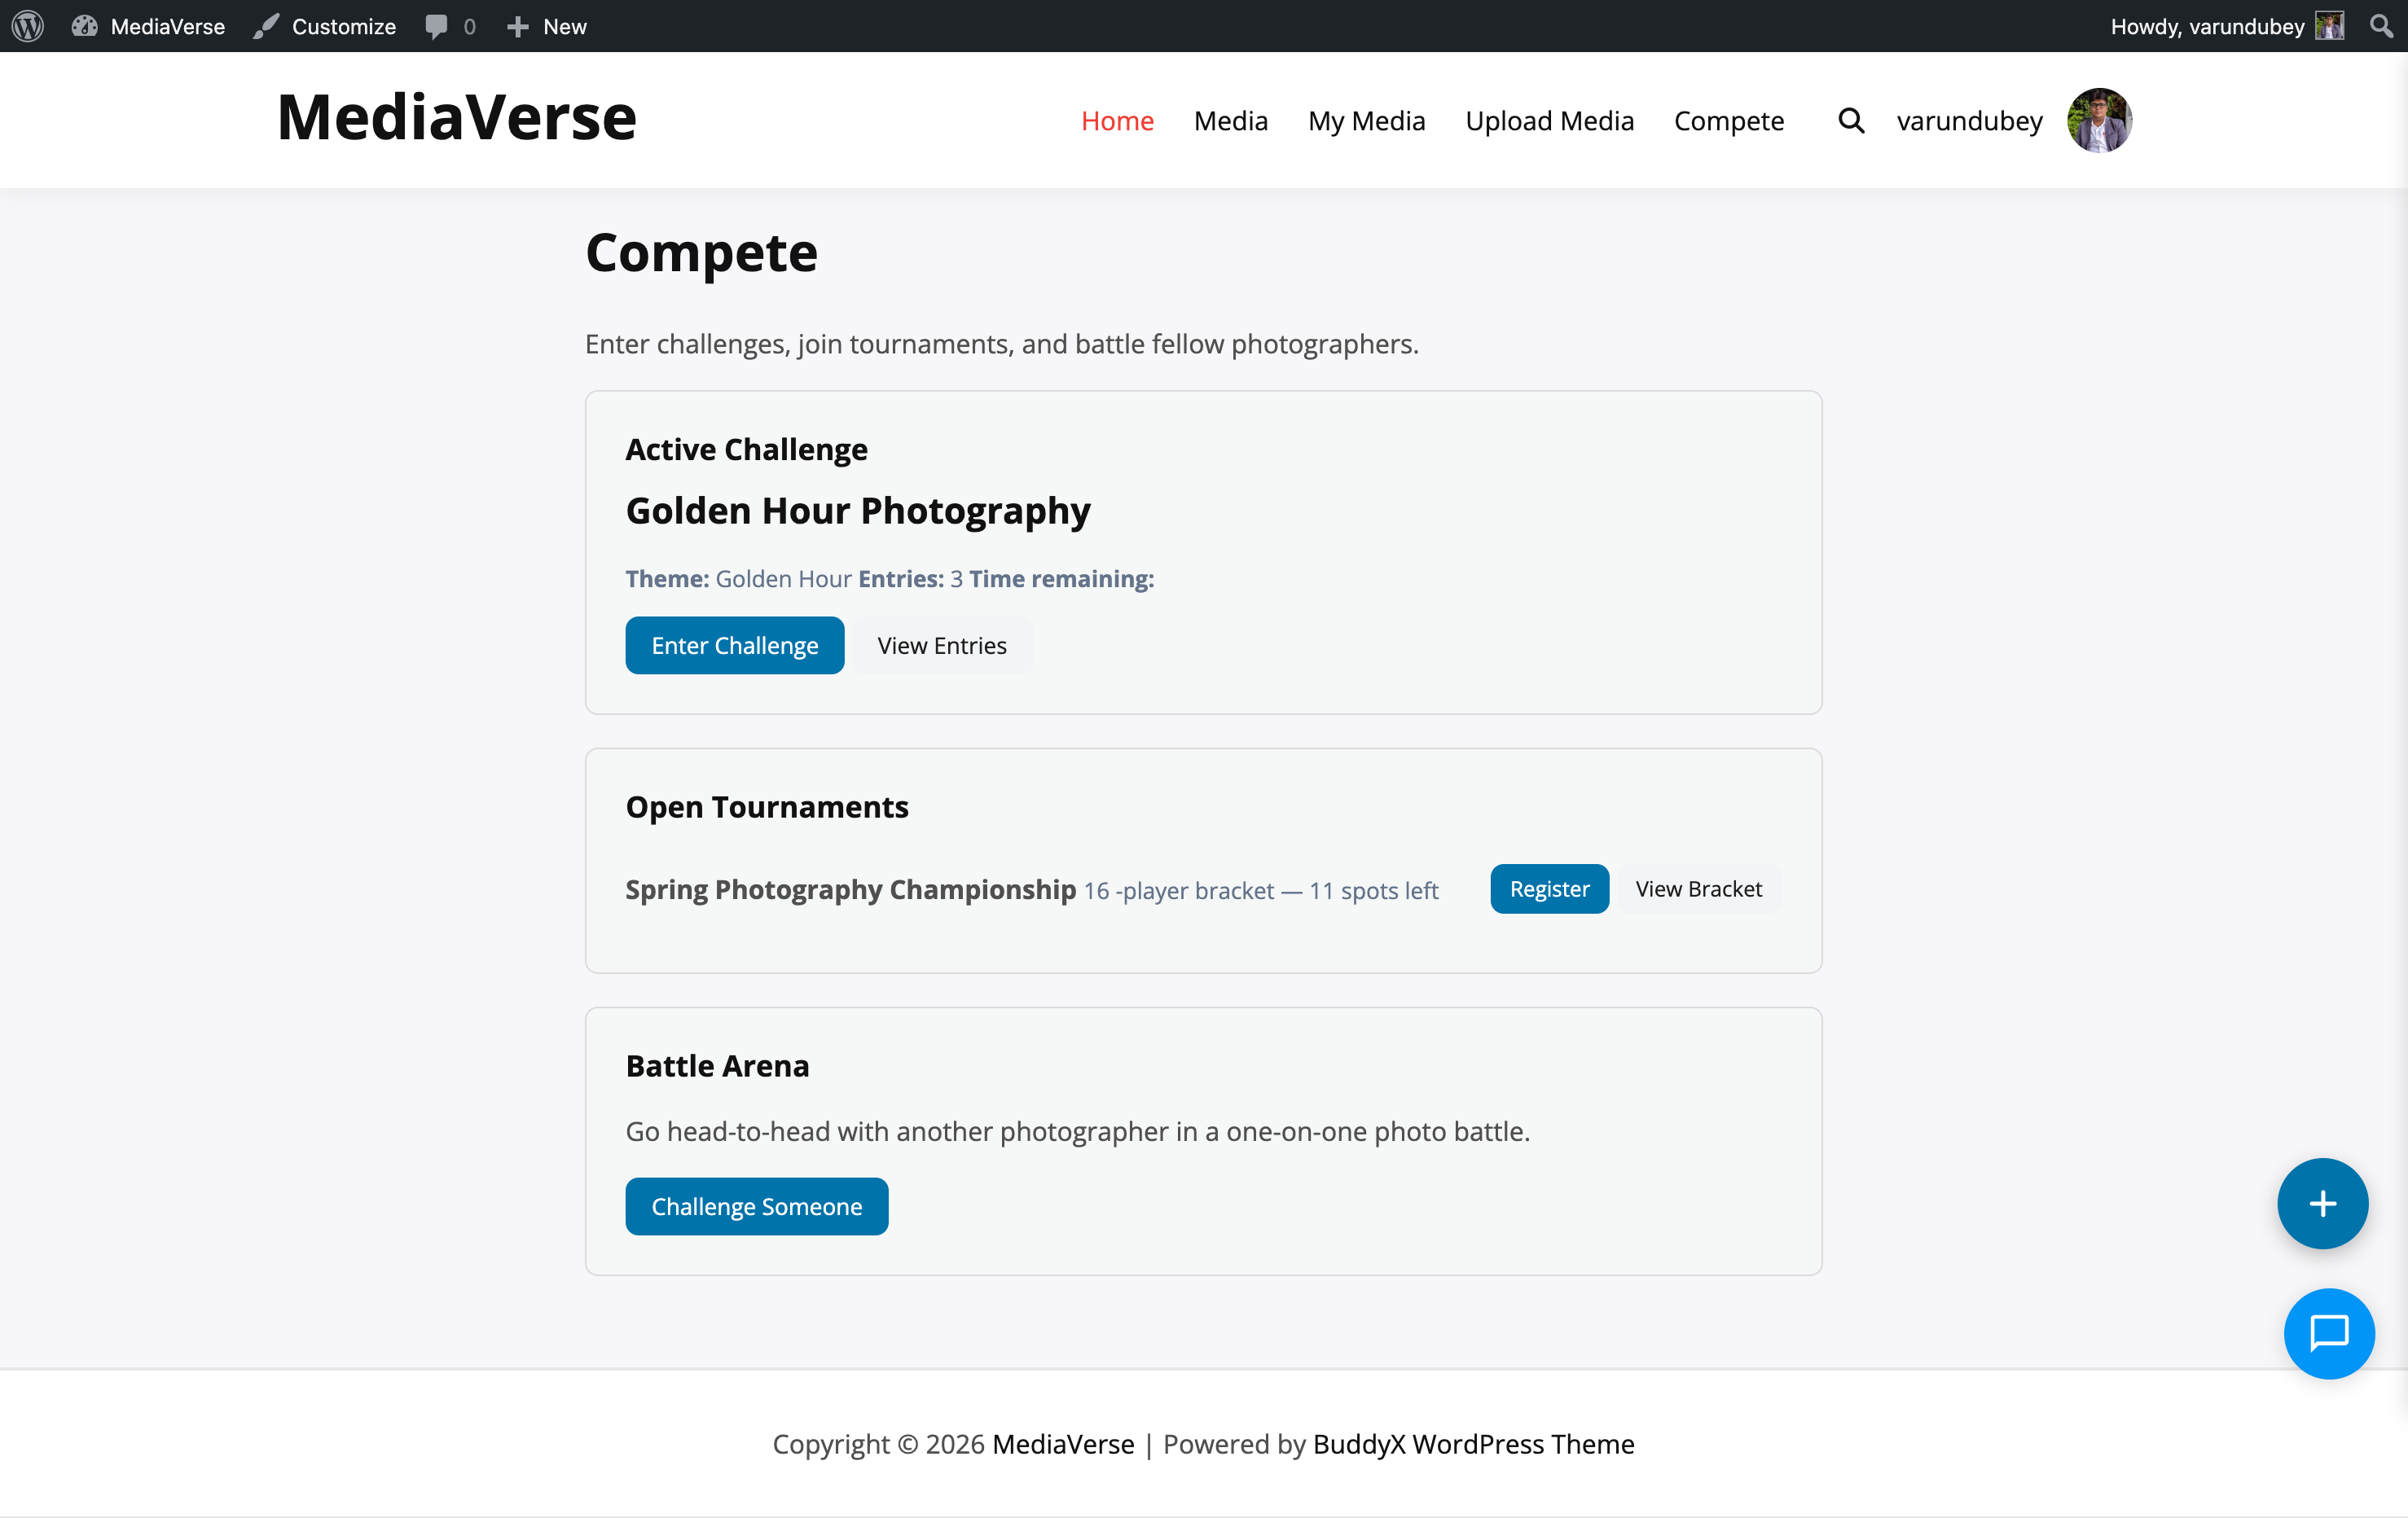
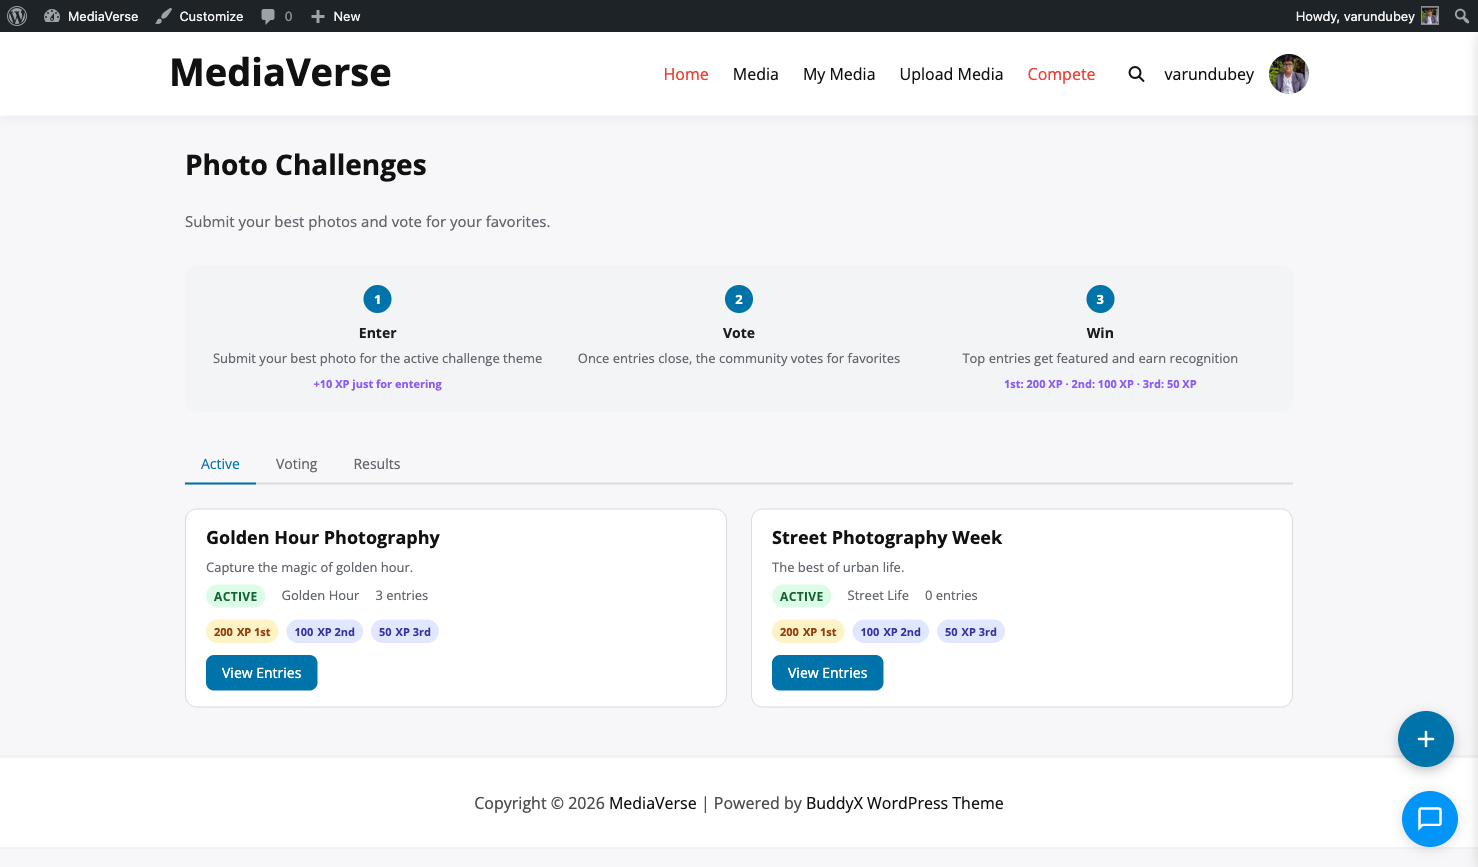
Competition Actions
| Hook |
When |
Parameters |
mvs_challenge_created |
Admin creates a new challenge |
$competition_id, $args, $created_by |
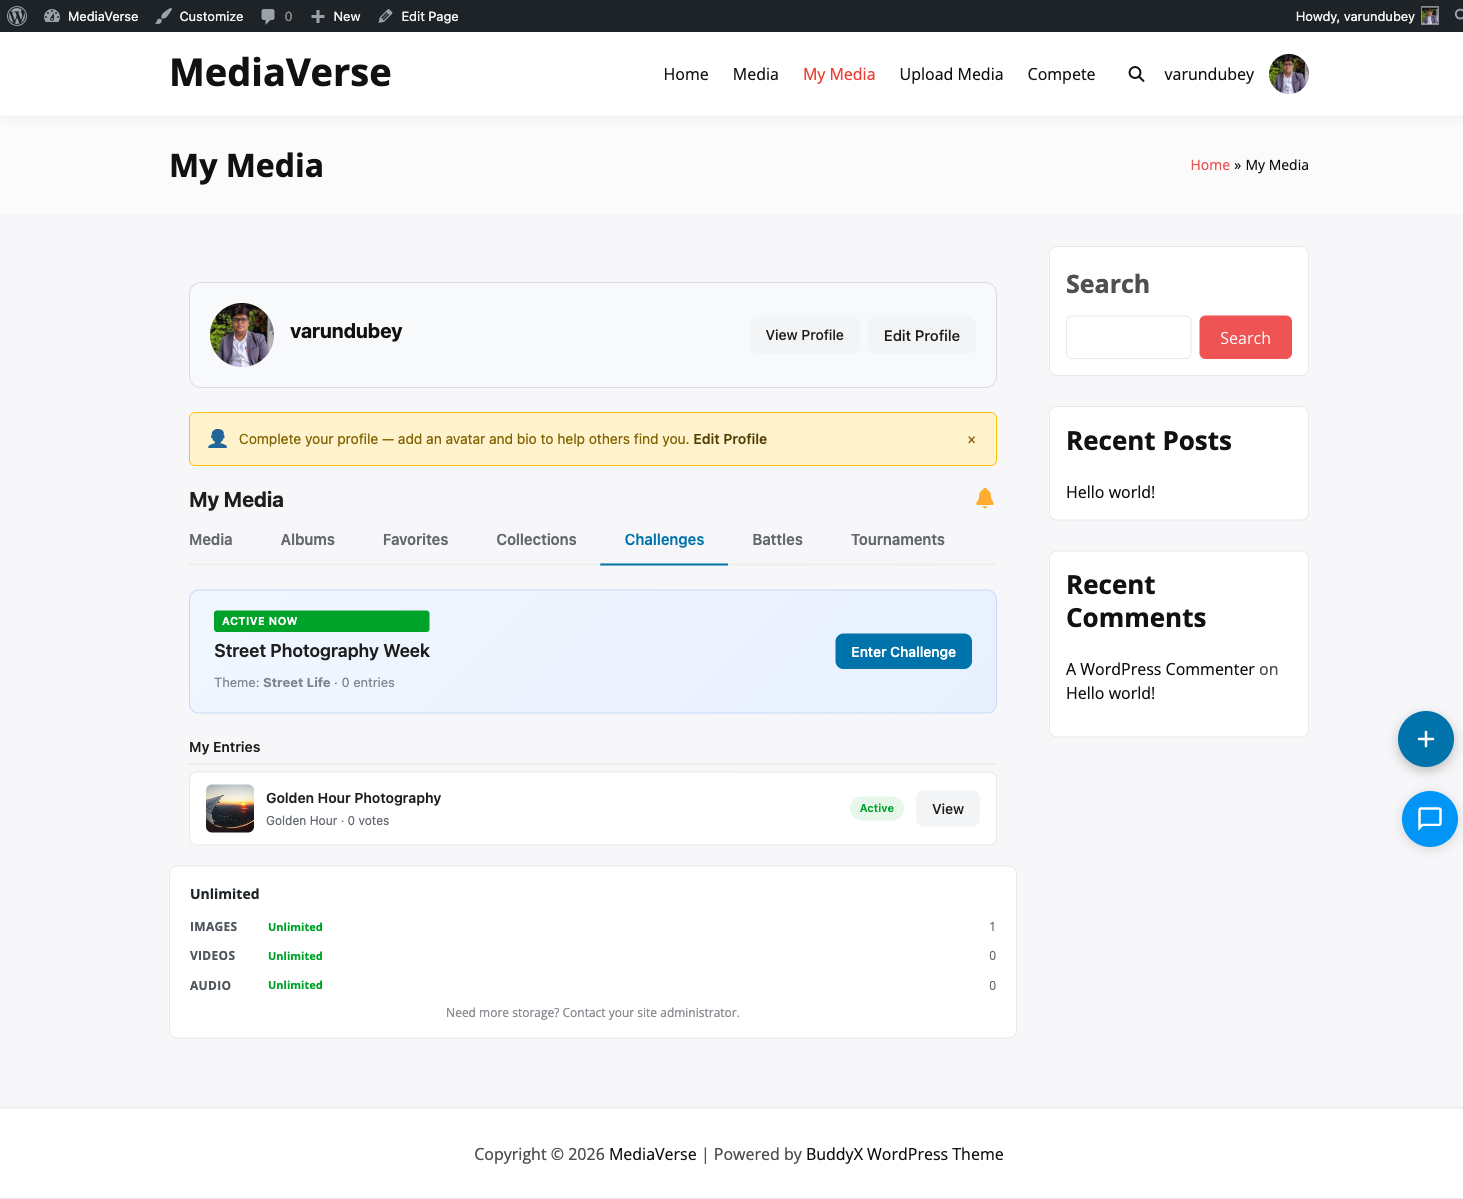
mvs_challenge_entry_submitted |
User submits entry to a challenge |
$challenge_id, $user_id, $media_id |
mvs_challenge_finalized |
Challenge voting ends, winners determined |
$challenge_id, $results |
mvs_battle_created |
User creates a battle |
$competition_id, $challenger_id, $opponent_id |
mvs_battle_accepted |
Opponent accepts a battle invite |
$battle_id, $user_id |
mvs_battle_resolved |
Battle voting ends, winner determined |
$battle_id, $winner_id, $loser_id |
mvs_tournament_created |
Admin creates a tournament |
$competition_id, $args, $created_by |
mvs_tournament_started |
Tournament registration closes, bracket generated |
$tournament_id |
mvs_tournament_match_resolved |
A single bracket match is resolved |
$match_id, $winner_id |
mvs_tournament_finalized |
Tournament ends, champion crowned |
$competition_id, $champion_id |
Autopilot Actions
| Hook |
When |
Parameters |
mvs_autopilot_challenge_created |
Autopilot successfully creates a weekly challenge |
$competition_id, $theme |
mvs_autopilot_create_failed |
Autopilot failed to create a challenge |
$error, $theme |
mvs_autopilot_no_theme_available |
All themes in the pool have been used |
-- |
mvs_autopilot_pool_reset |
Theme pool recycled back to the beginning |
$pool |
Streak Actions
| Hook |
When |
Parameters |
mvs_streak_milestone |
User reaches a streak milestone (7, 30, 100, 365 days) |
$user_id, $days, $xp_awarded |
Video & Caption Actions
| Hook |
When |
Parameters |
mvs_pro_transcode_complete |
All transcode presets finished for a media item |
$media_id, $results, $final_status |
mvs_pro_captions_generated |
Whisper transcription saved as WebVTT |
$media_id, $vtt_url |
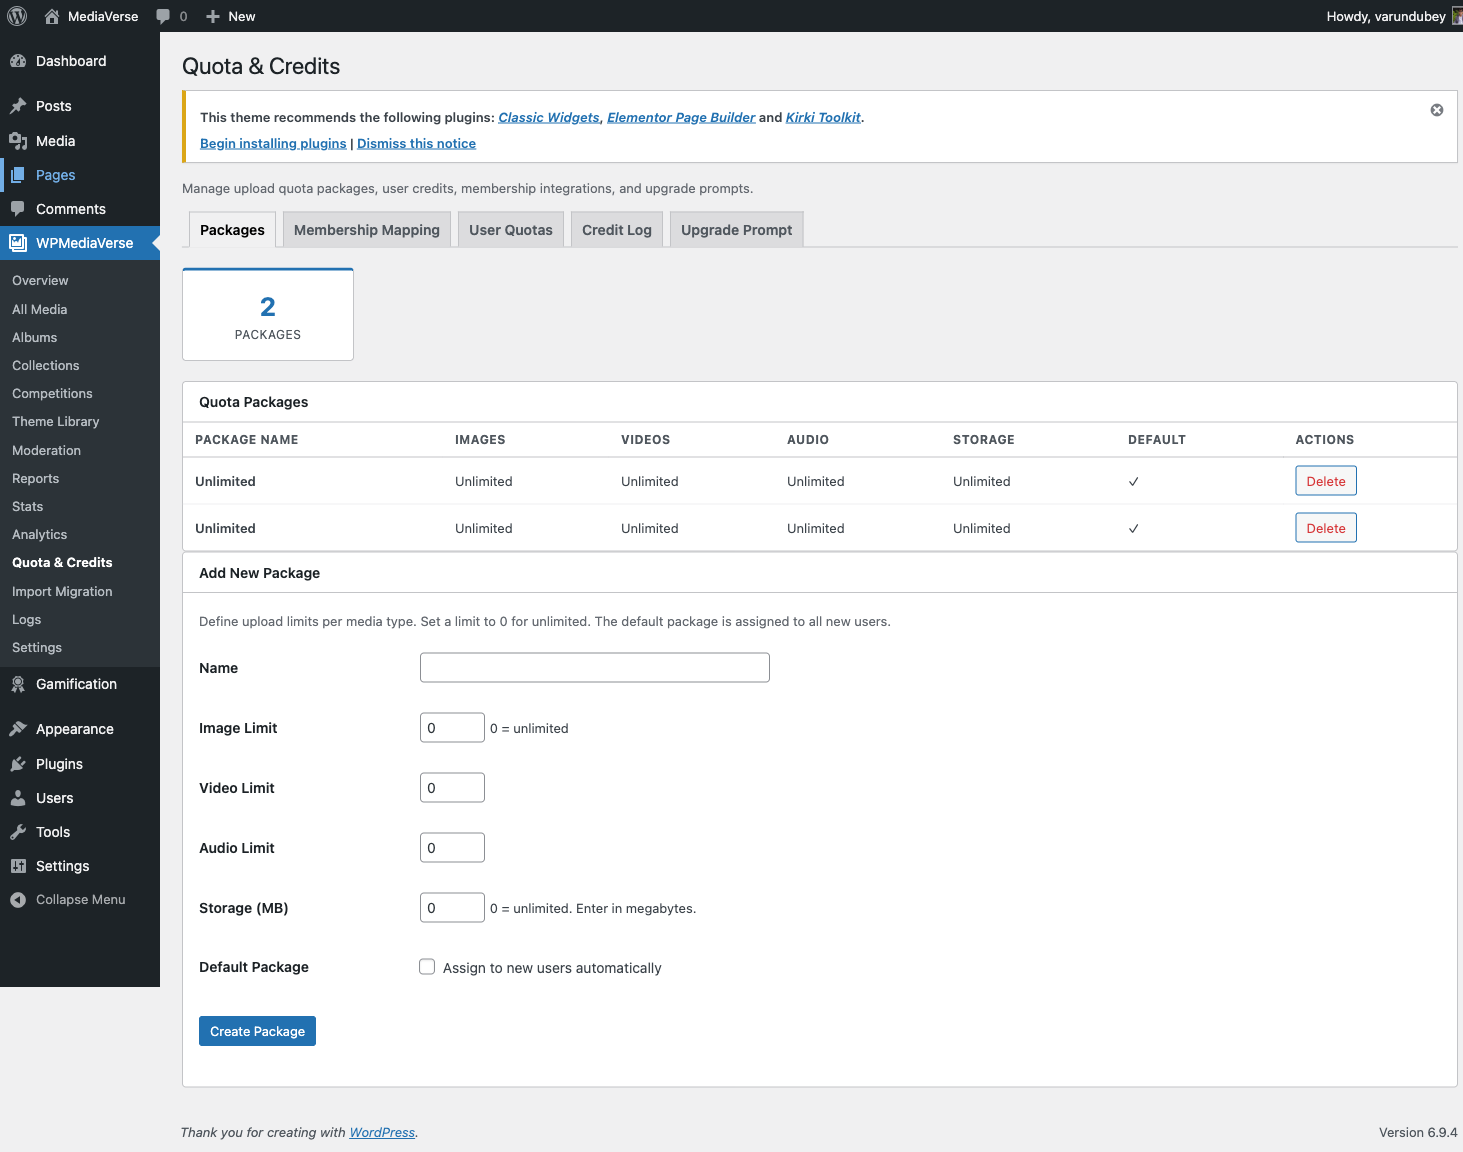
Quota & Membership Actions
| Hook |
When |
Parameters |
mvs_pro_credits_added |
Credits added to a user's quota |
$user_id, $media_type, $amount, $source |
mvs_pro_woo_package_assigned |
WooCommerce order assigns a quota package |
$user_id, $product_id, $package_id, $order_status |
mvs_pro_woo_package_reverted |
WooCommerce order cancelled, reverted to default |
$user_id, $default_package_id, $order_status |
mvs_pro_memberpress_package_assigned |
MemberPress membership assigns a package |
$user_id, $membership_id, $package_id |
mvs_pro_memberpress_package_reverted |
MemberPress membership expired, reverted |
$user_id, $default_package_id |
mvs_pro_pmpro_package_assigned |
PMPro level assigns a package |
$user_id, $level_id, $package_id |
mvs_pro_pmpro_package_reverted |
PMPro level cancelled, reverted |
$user_id, $default_package_id |
mvs_quota_render_mapping_fields |
Admin quota page renders mapping fields |
-- |
mvs_quota_save_mapping |
Admin saves quota mapping |
-- |
Layout Actions
| Hook |
When |
Parameters |
mvs_layout_assets |
After the active layout's CSS/JS is enqueued |
$layout_instance, $slug |
Pro-Only Filters (Pro)
Layout Filters
| Filter |
Description |
Parameters |
Default |
mvs_active_layout |
Override the active layout slug |
$slug |
Value of mvs_pro_feed_layout option |
mvs_layout_modes |
Register custom layout modes |
$modes (slug => class) |
Built-in 4 modes |
mvs_layout_template_map |
Override template file mapping for active layout |
$map, $layout_instance |
Layout's default map |
Messaging Filters (Pro copy)
These filters exist in both free and Pro. When Pro is active, its messaging service takes priority.
| Filter |
Description |
Parameters |
Default |
mvs_dm_access_level |
Override DM access check result |
$access, $sender_id, $recipient_id |
Site setting |
mvs_dm_message_rate_limit |
Max messages per minute per user |
$limit |
20 |
mvs_dm_convo_rate_limit |
Max new conversations per hour |
$limit |
10 |
mvs_message_max_length |
Max message character length |
$length |
2000 |
mvs_dm_max_upload_size |
Max DM attachment file size in bytes |
$bytes |
10 * MB_IN_BYTES |