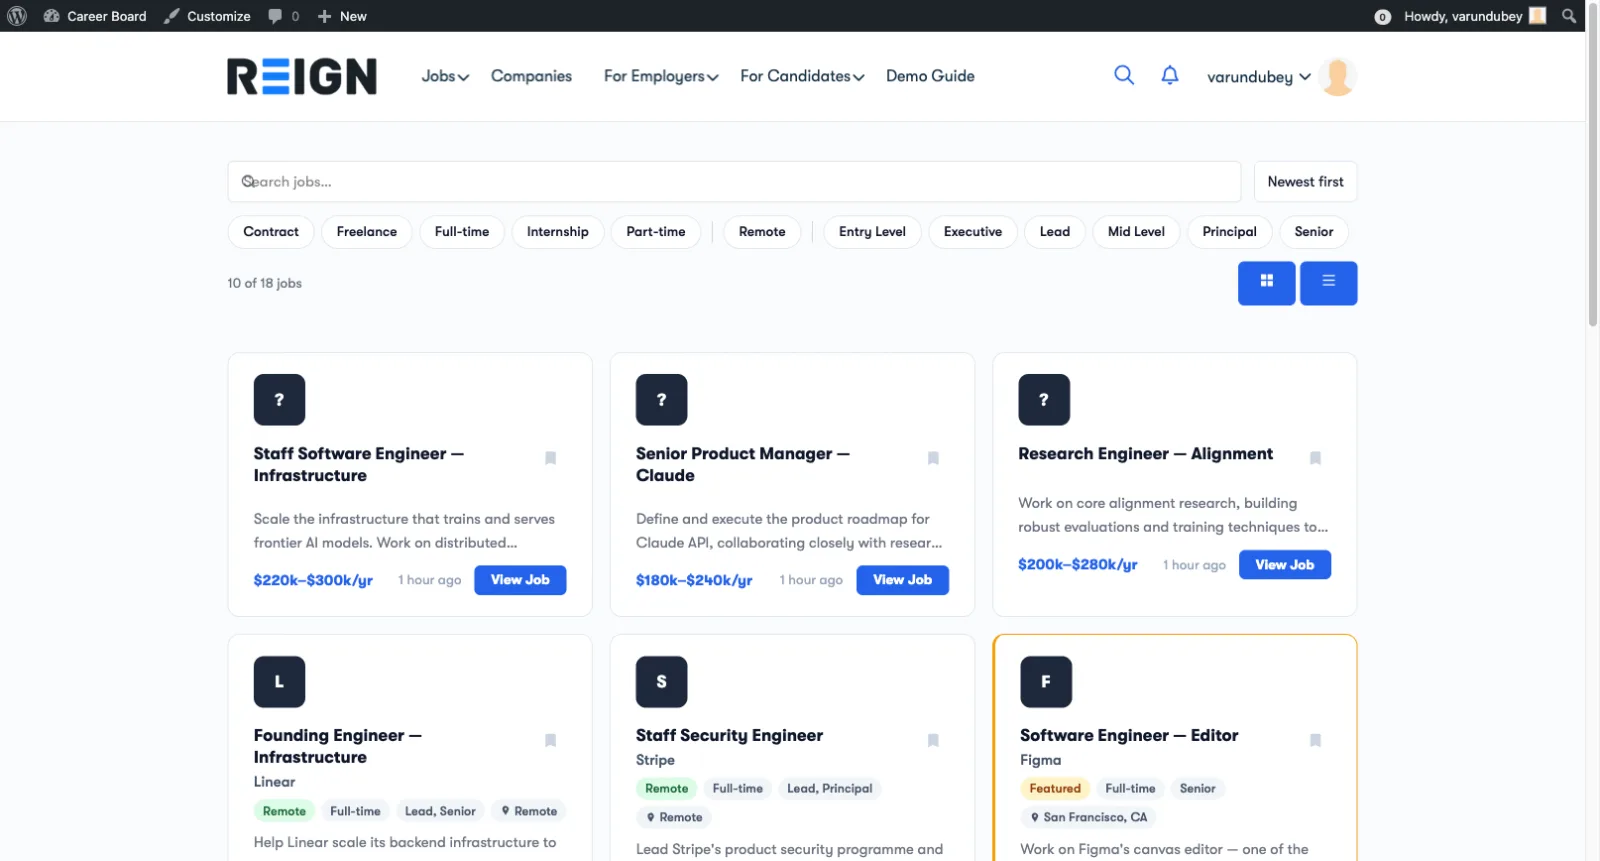
Extension Cookbook
Common things developers ask "how do I…" - with the smallest
working snippet for each. Every recipe uses public hooks; nothing
here forks the source.
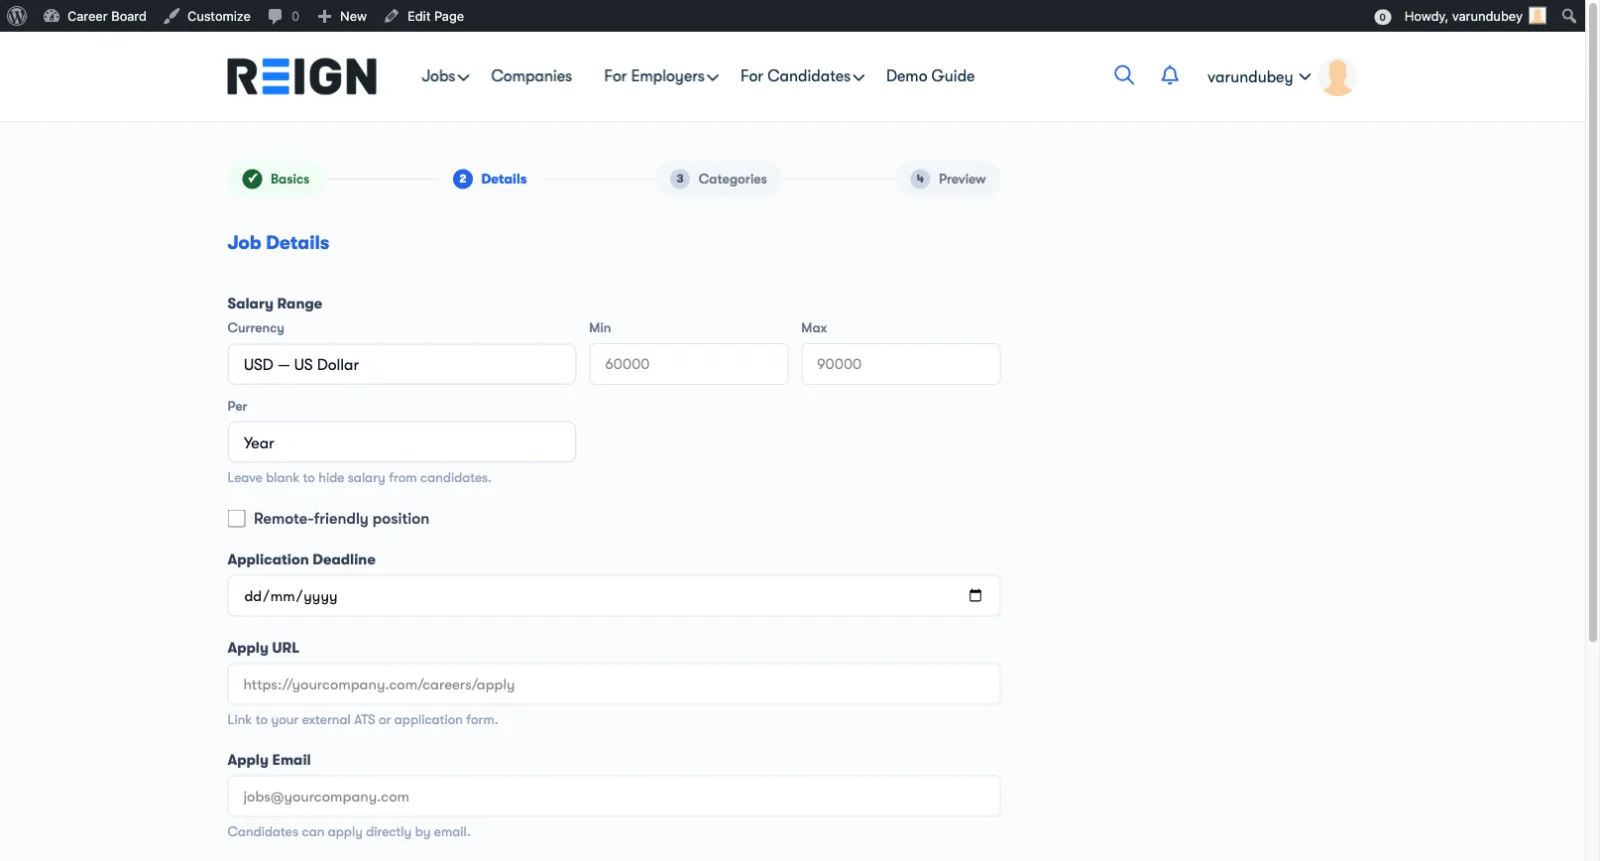
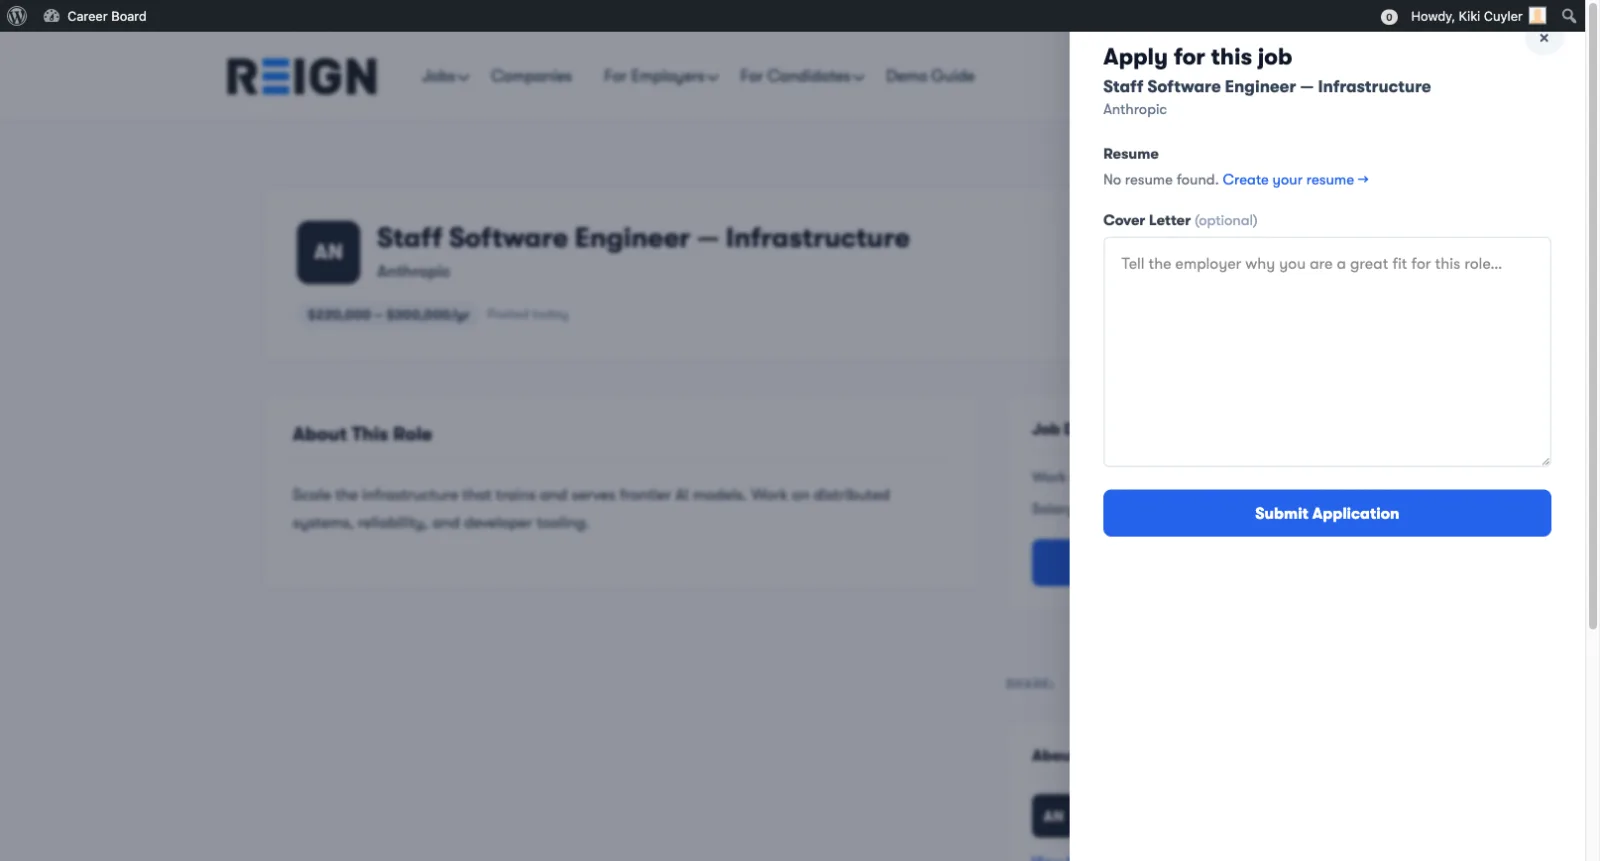
You want candidates to fill in (say) a "LinkedIn URL" when applying.
// 1. Render the input inside the apply panel.
add_action( 'wcb_application_form_fields', function ( $job_id ) {
    ?>
    <label class="wcb-form-label">
        <span><?php esc_html_e( 'LinkedIn URL', 'my-addon' ); ?></span>
        <input type="url" name="my_addon_linkedin" class="wcb-field" />
    </label>
    <?php
});

// 2. Allow the field through the apply endpoint.
add_filter( 'wcb_application_form_fields_groups', function ( $groups, $job_id ) {
    $groups['my_addon'] = array(
        'fields' => array(
            'linkedin' => array( 'type' => 'url', 'sanitize' => 'esc_url_raw' ),
        ),
    );
    return $groups;
}, 10, 2 );

// 3. Read the saved value later - it's stored as `_wcb_application_field_linkedin`.
$url = get_post_meta( $app_id, '_wcb_application_field_linkedin', true );
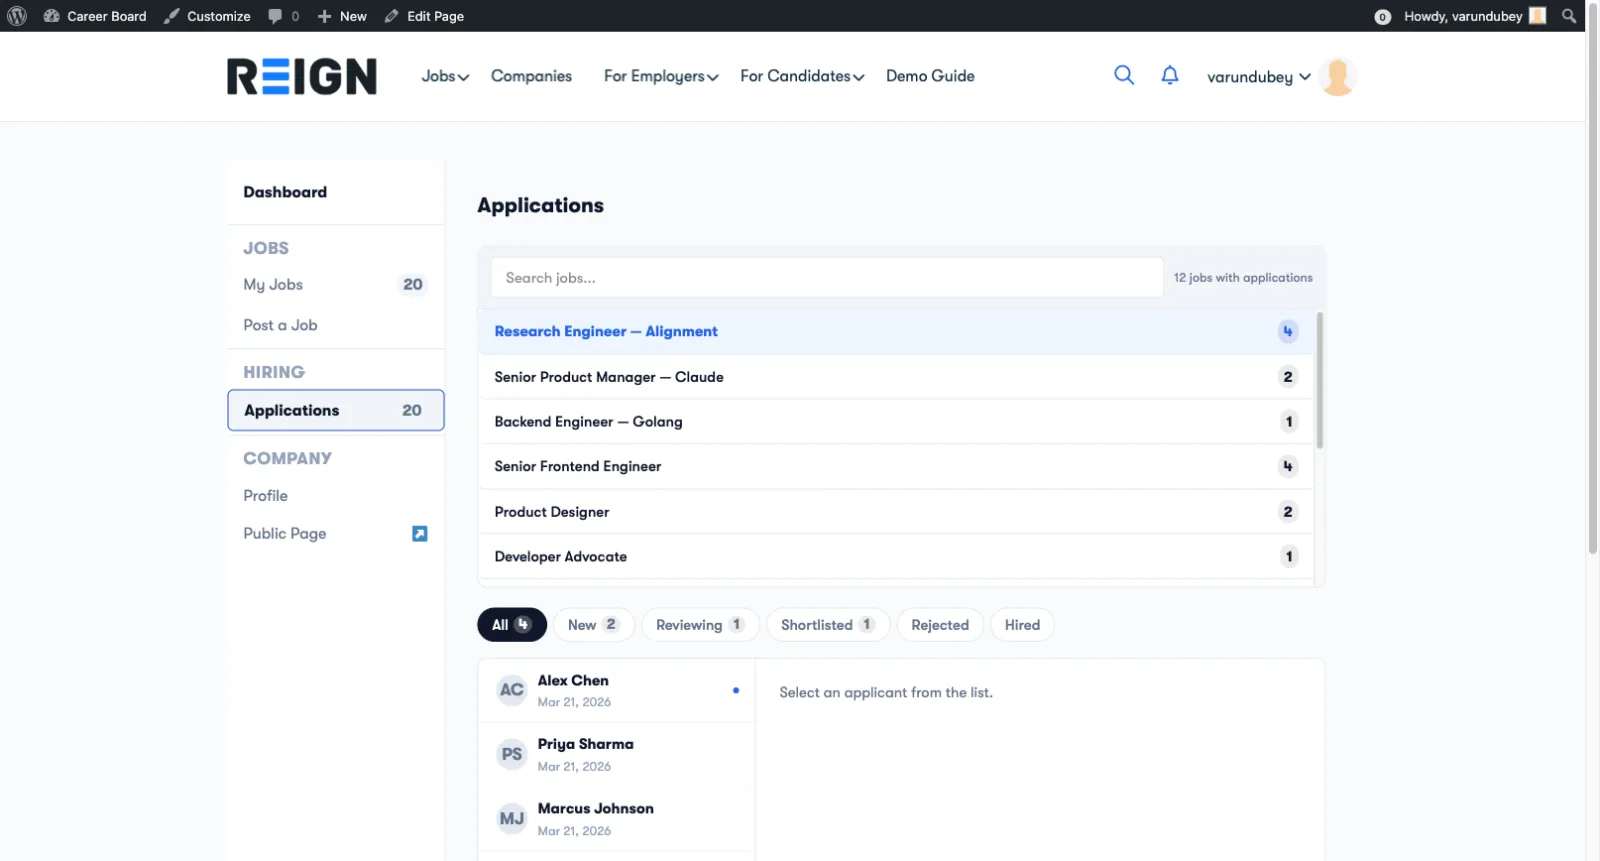
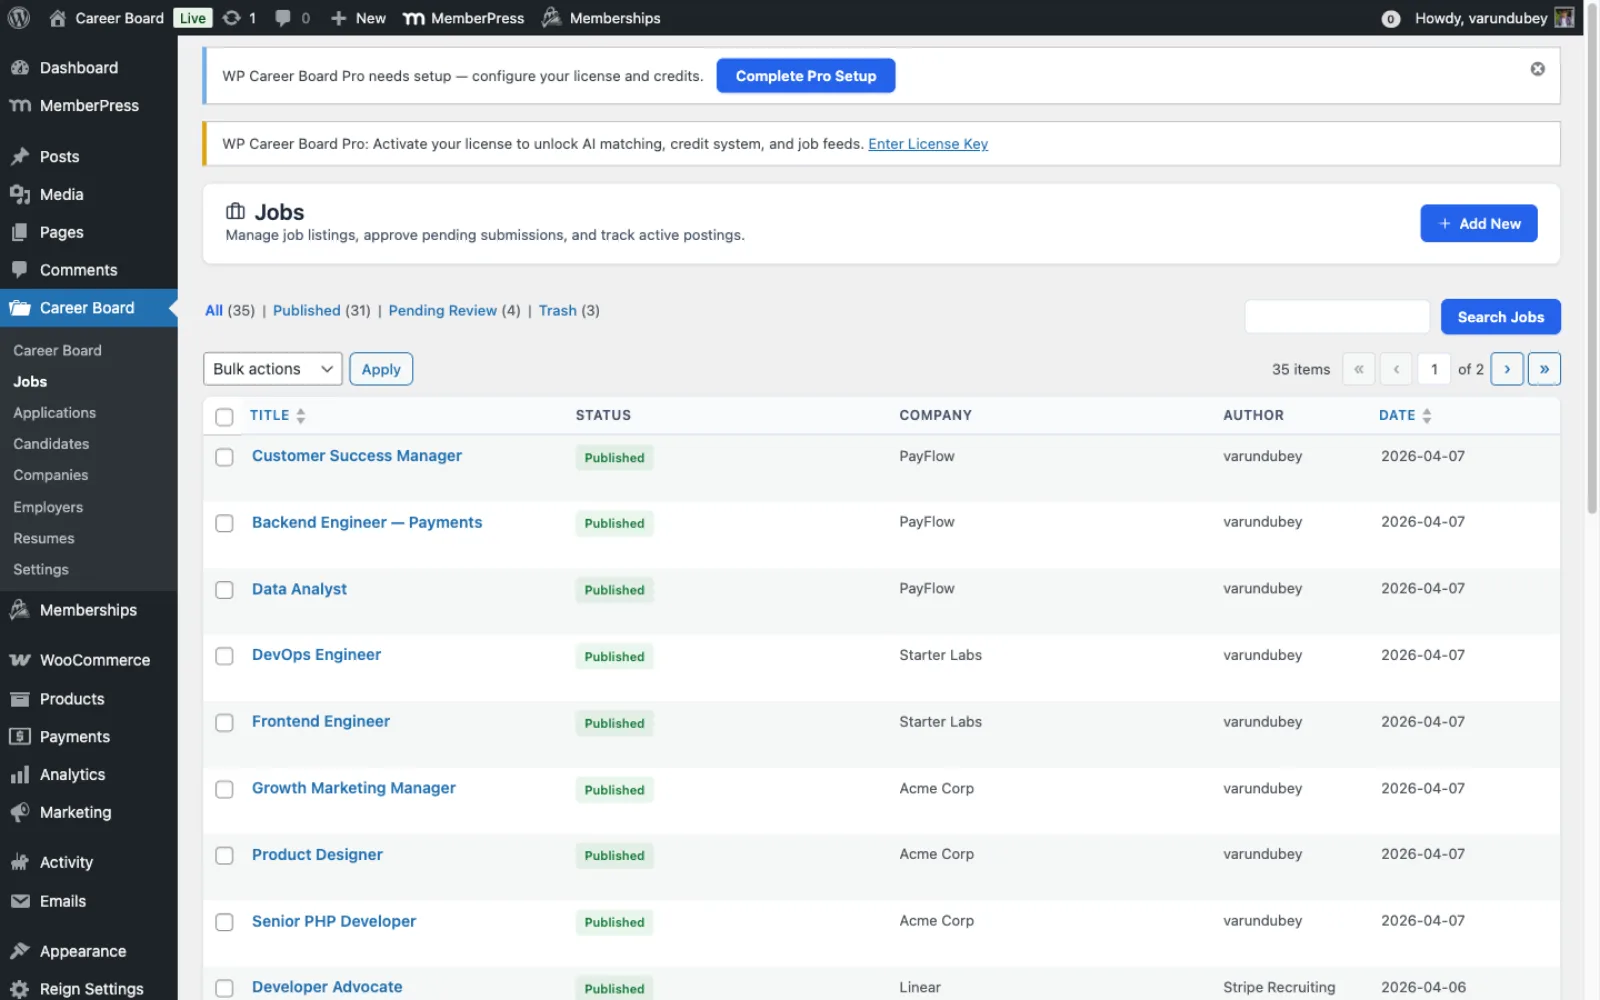
Add a column to the admin applications table
add_filter( 'manage_wcb_application_posts_columns', function ( $cols ) {
    $cols['my_score'] = __( 'Score', 'my-addon' );
    return $cols;
});

add_action( 'manage_wcb_application_posts_custom_column', function ( $col, $post_id ) {
    if ( 'my_score' === $col ) {
        echo (int) get_post_meta( $post_id, '_my_score', true );
    }
}, 10, 2 );
Notify Slack when a job is posted
add_action( 'wcb_job_created', function ( $job_id, $request ) {
    $title = get_the_title( $job_id );
    wp_remote_post( SLACK_WEBHOOK_URL, array(
        'body' => wp_json_encode( array(
            'text' => sprintf( '🆕 New job posted: *%s*', $title ),
        ) ),
        'headers' => array( 'Content-Type' => 'application/json' ),
        'blocking' => false,
    ));
}, 10, 2 );
Add a tab to the Settings page
add_filter( 'wcb_settings_tabs', function ( $tabs ) {
    $tabs['my_addon'] = __( 'My Addon', 'my-addon' );
    return $tabs;
});

add_action( 'wcb_settings_tab_my_addon', function () {
    settings_fields( 'my_addon_group' );
    do_settings_sections( 'my_addon_group' );
    submit_button();
});
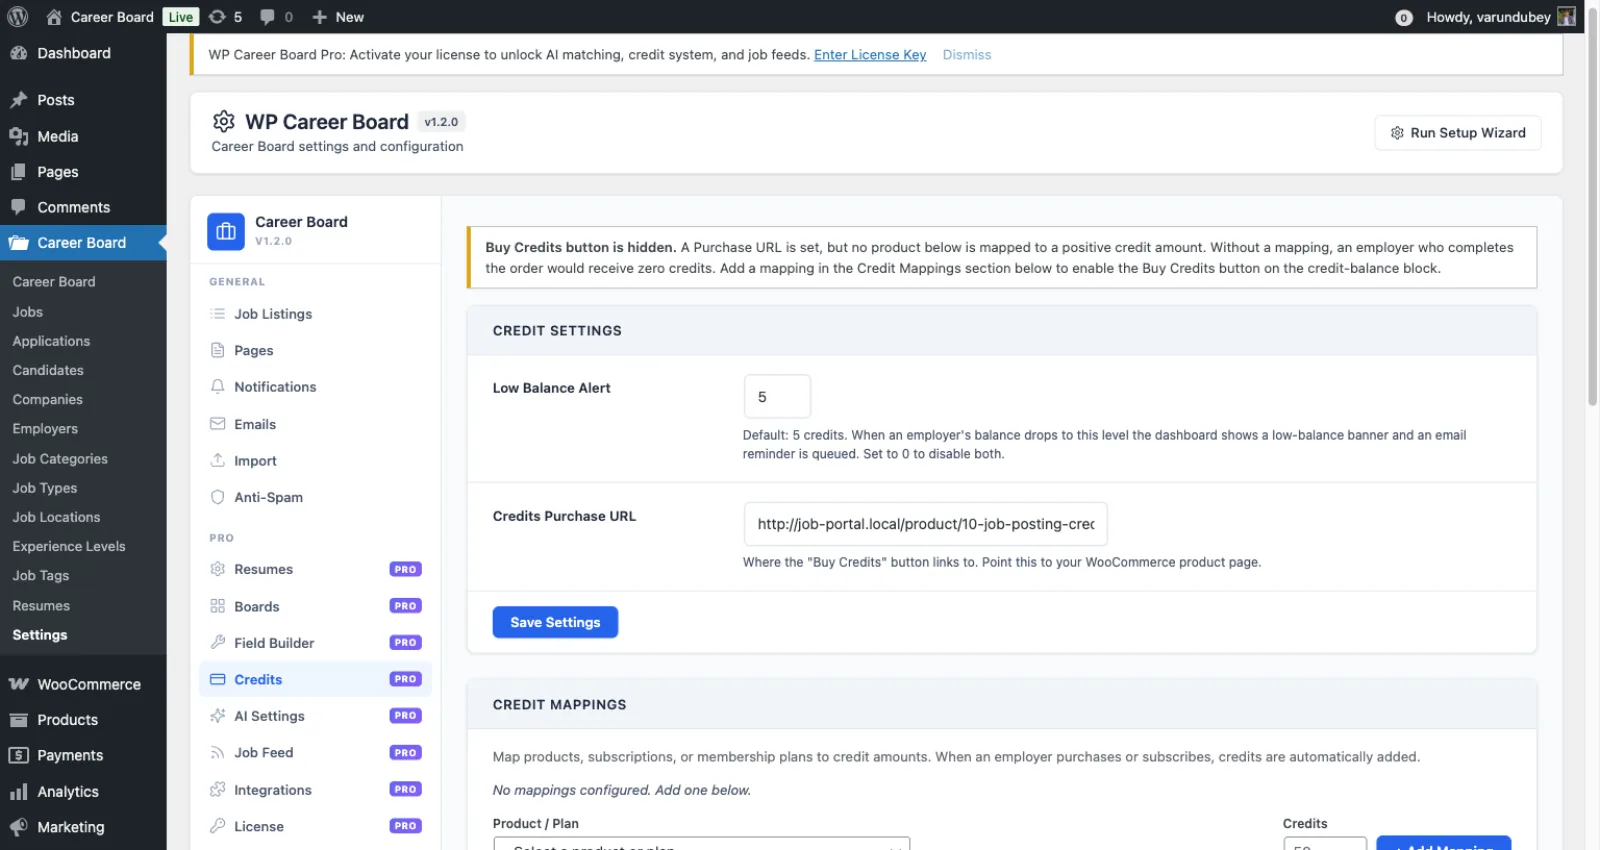
Override the credit cost for a specific board
add_filter( 'wcb_board_credit_cost', function ( $cost, $board_id ) {
    if ( get_option( 'my_addon_premium_board' ) === $board_id ) {
        return 5; // Override the normal cost
    }
    return $cost;
}, 10, 2 );
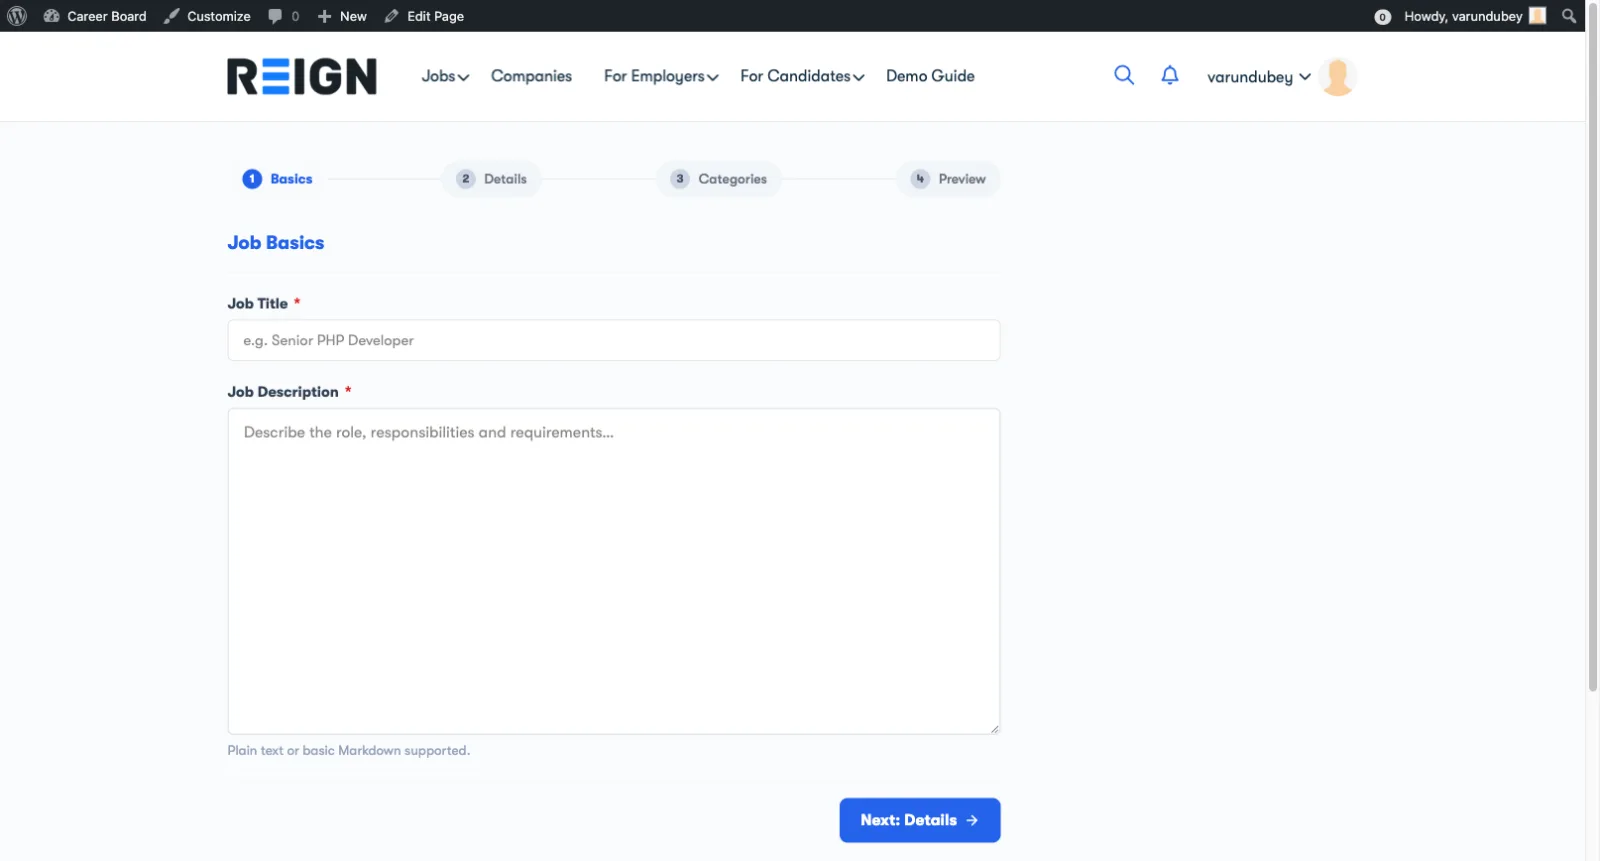
Inject a step into the post-a-job wizard
The 4-step wizard fires wcb_job_form_step1_fields …
wcb_job_form_step4_preview actions inside each step's container.
Adding a fifth step takes a JS-side hook too - but injecting
fields into an existing step is trivial:
add_action( 'wcb_job_form_step3_fields', function () {
    ?>
    <div class="wcb-form-field">
        <label class="wcb-form-label">
            <?php esc_html_e( 'Industry sub-category', 'my-addon' ); ?>
        </label>
        <select name="my_addon_subcat">
            <option value="frontend">Frontend</option>
            <option value="backend">Backend</option>
        </select>
    </div>
    <?php
});
Add a column to the REST jobs response
add_filter( 'wcb_rest_prepare_job', function ( $row, $post, $request, $context ) {
    $row['my_remote_friendly'] = (bool) get_post_meta( $post->ID, '_remote_friendly', true );
    return $row;
}, 10, 4 );
This propagates everywhere the jobs API is consumed - the listings
block, the single-job page, third-party integrations.
Disable a built-in feature
Most Pro features are gated by wcb_pro_*_enabled filters. To
turn off resume builder for a specific role:
add_filter( 'wcb_pro_resumes_enabled', function ( $enabled ) {
    if ( current_user_can( 'wcb_employer' ) ) {
        return false; // Hide resume tab from employers
    }
    return $enabled;
});
Customize the "Buy Credits" link
Different gateways for different user segments:
add_filter( 'wcb_credit_purchase_url', function ( $url ) {
    if ( current_user_can( 'wcb_employer_premium' ) ) {
        return '/premium-credits/';
    }
    return $url;
});
Restrict the boards dropdown by user role
add_filter( 'wcb_board_options_for_employer', function ( $options, $user_id ) {
    if ( ! user_can( $user_id, 'wcb_post_to_premium_boards' ) ) {
        // Drop any board whose id is in the "premium" list.
        $premium_ids = (array) get_option( 'my_premium_board_ids', array() );
        $options = array_filter( $options, fn( $o ) => ! in_array( (int) $o['id'], $premium_ids, true ) );
    }
    return $options;
}, 10, 2 );
(Pro's BP-groups integration uses this same filter to drop boards
whose linked BuddyPress group the user is not a member of.)
Add a custom transactional email
add_filter( 'wcb_registered_emails', function ( $emails ) {
    $emails['my_addon_welcome'] = array(
        'subject' => __( 'Welcome to the board', 'my-addon' ),
        'body'    => __( 'Hi {{name}}, welcome to our job board!', 'my-addon' ),
        'context' => 'candidate',
    );
    return $emails;
});

// Fire it from your code:
do_action( 'wcb_send_email', 'my_addon_welcome', $candidate_id, array(
    'name' => $candidate_name,
));
Where to find the rest
Read 02-hooks-reference.md for the full
inventory. For anything not covered by a hook, the next step is
to extend a Career Board class directly - see
03-rest-api.md for the REST controller base
class and the WP-CLI section in
04-wp-cli.md for the CLI base class.