Migrating from Another LMS
Learnomy includes a built-in import tool that brings your existing courses, lessons, and quizzes into Learnomy from another LMS plugin. The import runs on the same site where your old LMS is installed, so it reads your existing content directly and writes it into Learnomy using Learnomy's own data structures.
The tool reads from one of three source plugins and recreates the content as native Learnomy courses:
- LearnDash
- Tutor LMS
- LifterLMS
A source only appears in the wizard if its plugin is active on the site and it has at least one course to import. If you do not see a source you expected, confirm the source plugin is still active and has content.
The import copies, depending on the source, these item types:
- Categories
- Courses
- Sections (Tutor LMS and LifterLMS)
- Lessons (and sub-lessons / topics for LearnDash)
- Quizzes
- Questions
- Enrollments (which learners had access)
- Progress (which lessons learners completed)
Course and lesson categories and tags are brought across automatically together with their courses, lessons, and quizzes. You do not select them separately.
The import is one-directional. It reads from the source and writes into Learnomy. It never modifies, deletes, or writes back to the source plugin. Your existing LMS keeps working exactly as it did before.
Before you start
Back up your database. The import creates a large amount of new content. A backup is your safety net, and it is faster than undoing a run manually if something is not what you expected.
Keep the source plugin installed and active. The import reads live from LearnDash, Tutor LMS, or LifterLMS while it runs. Do not deactivate or delete the source plugin until the import has finished and you have reviewed the result.
Test on staging first if you can. Run the import on a staging copy of the site, review the imported courses, then repeat on production once you are happy with the outcome.
Know what is not migrated. Read the What is and is not migrated section below before you begin so there are no surprises. Certificates, quiz scores, and anything to do with money are intentionally left out.
Running the import wizard
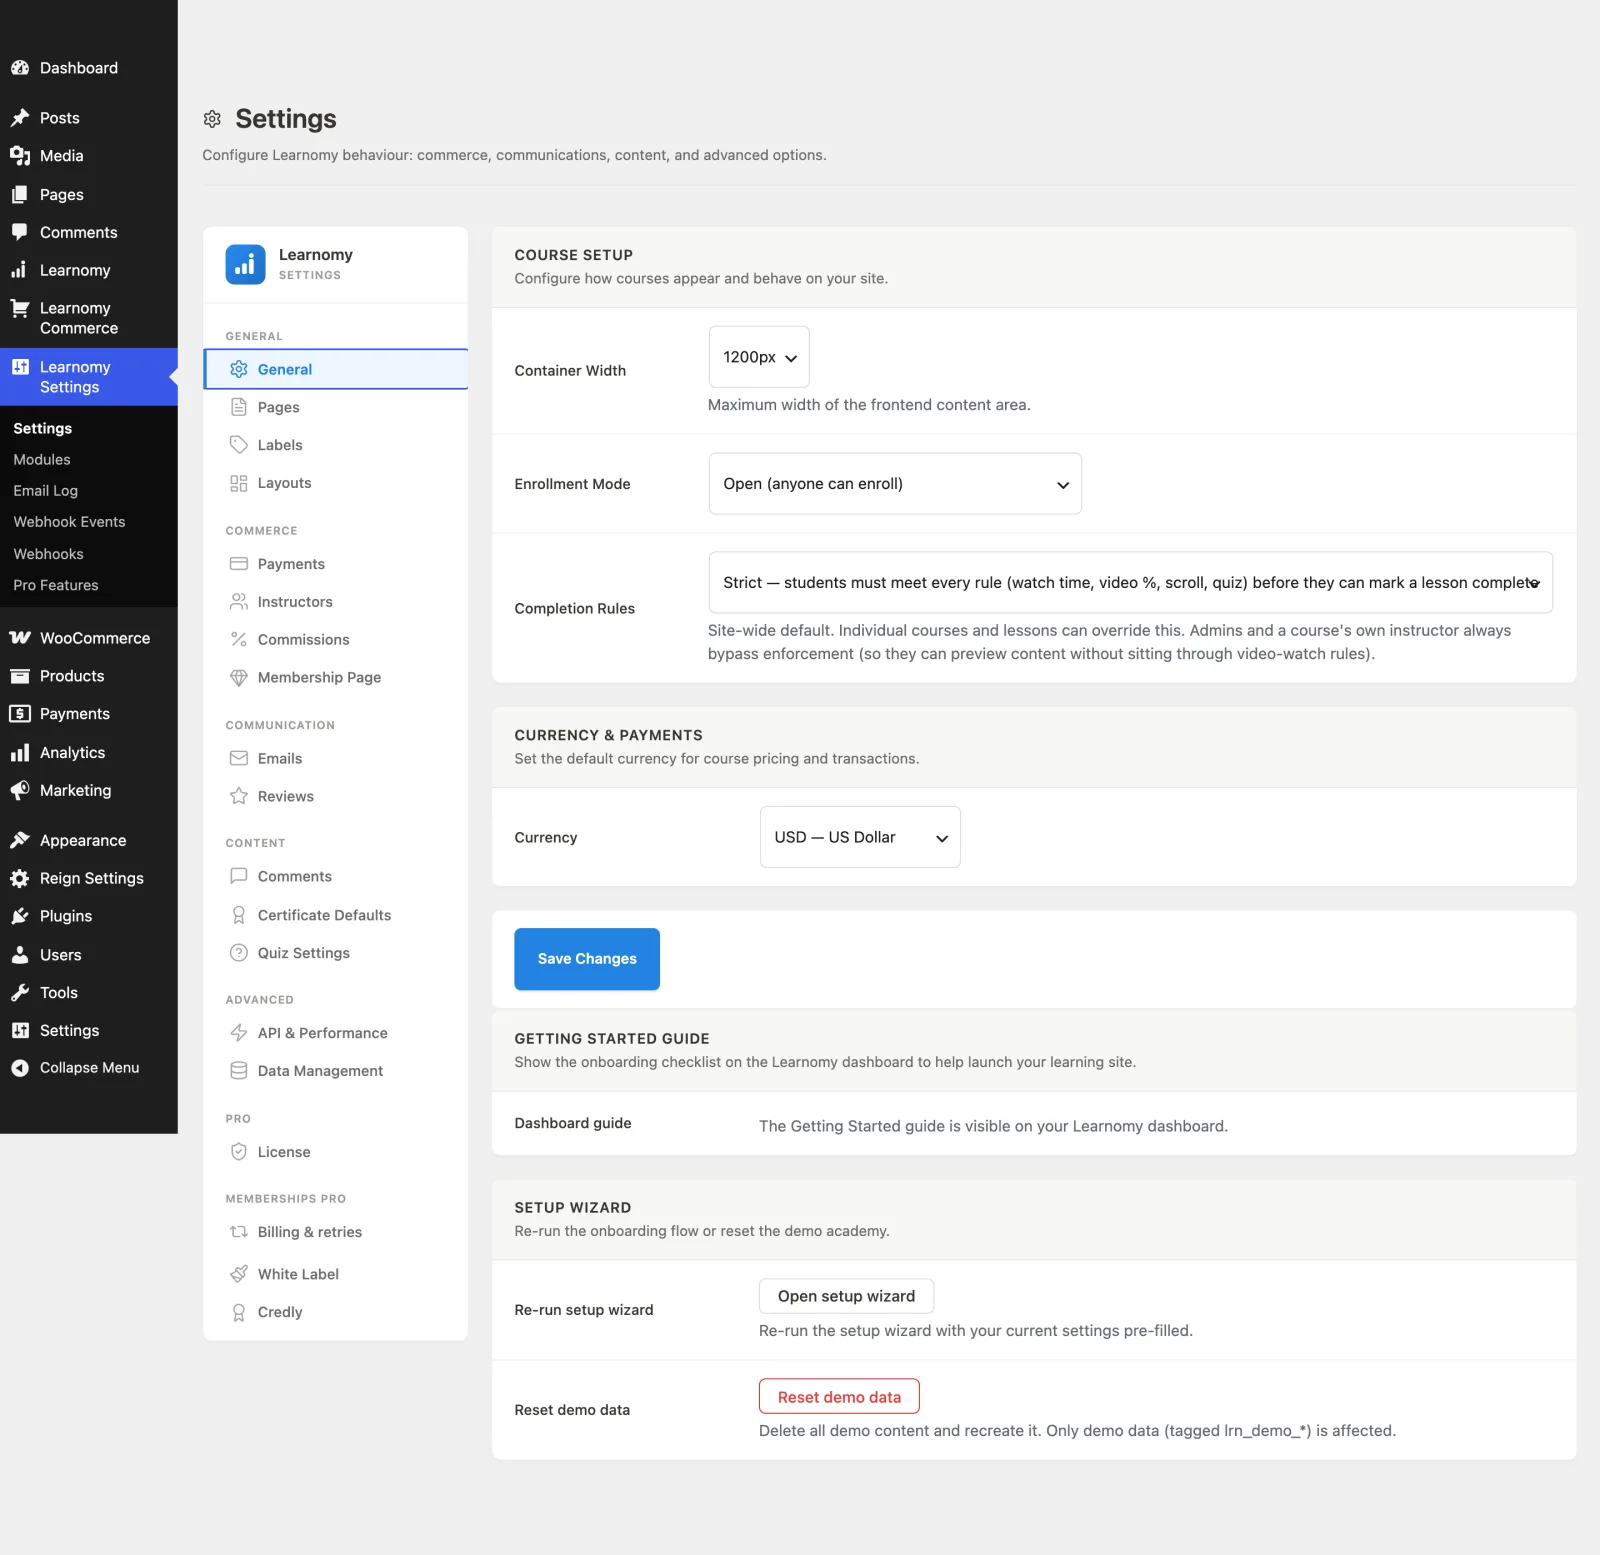
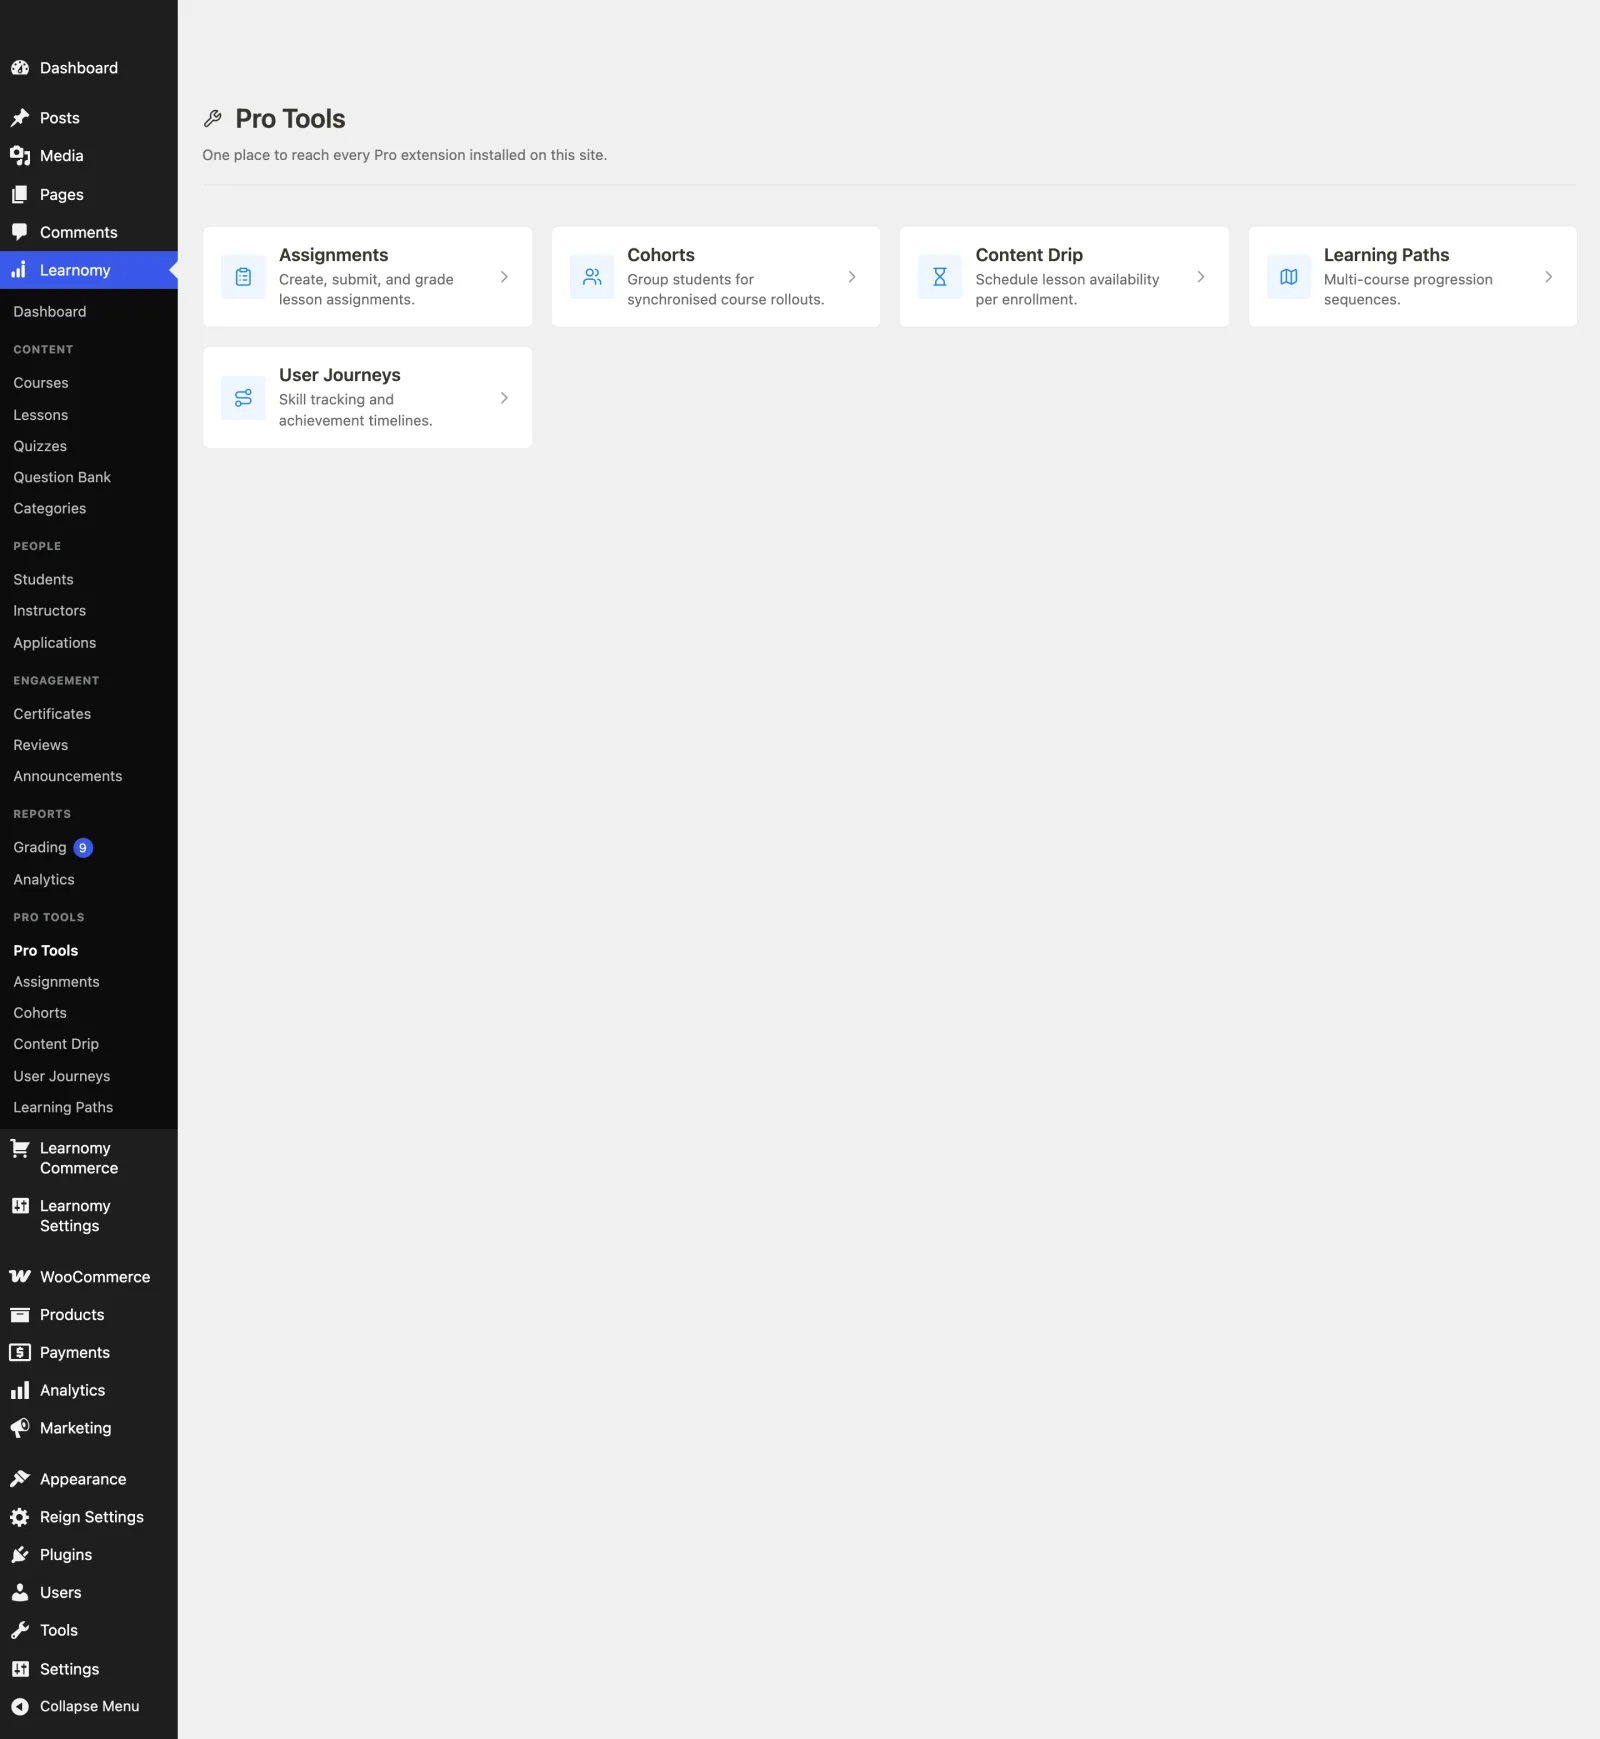
The wizard lives in the WordPress admin under Learnomy Settings > Import (page title "Import from another LMS"). It is a four-step flow.
Step 1 - Choose a source
In the WordPress admin, go to Learnomy Settings > Import.
The wizard lists every supported source and shows which ones are available on this site. Pick LearnDash, Tutor LMS, or LifterLMS.
A source that is installed but has no courses, or is not active, is shown as unavailable and cannot be selected.
Step 2 - Choose what to import
After you pick a source, the wizard shows a checklist of the item types that source supports, each with a count of how many items exist.
There are two tiers of content here:
- Content - categories, courses, sections, lessons, quizzes, and questions. This is the course material itself.
- People - enrollments and progress. This is the record of which learners had access to each course and which lessons they completed.
To import course material only, select the content items and leave Enrollments and Progress unchecked. To bring your learners across as well, also check Enrollments (grants each learner access to the imported course) and Progress (marks the lessons they had completed).
Select at least one item type. The wizard imports parents before children automatically (categories, then courses, then sections, then lessons, and so on), so you do not need to worry about ordering.
When you are ready, click Preview import.
Step 3 - Review the dry run
The preview is a dry run. It counts exactly what will be imported and lists any warnings, and it writes nothing to your database.
The review screen shows three things:
- A per-item count of everything that will be created.
- Question-type warnings, if any. When a source question type has no exact Learnomy equivalent, the dry run tells you how it will be handled. See the question-type fallback map below.
- A "Not migrated" list, stating plainly what the import deliberately leaves out.
Nothing has been written yet at this point. If the counts or warnings are not what you expected, click Back and adjust your selection.
Step 4 - Start the import
Click Start import to begin the live run.
The import runs in resumable batches in the background (50 items per batch) using Action Scheduler, so a large library does not time out a single page request. The wizard polls progress and shows a live percentage and per-item counts (created, updated, skipped) as each batch completes.
The import is also idempotent. Each source item is remembered once it has been imported, so if a run is interrupted and resumes, or if you run the same import again, already-imported items are skipped rather than duplicated.
When Action Scheduler is not available on the site, the whole import runs inline in one request instead and returns once it is complete.
What is and is not migrated
Migrated
- Course structure: categories, courses, sections, lessons, sub-lessons, quizzes, and questions.
- Course and lesson categories and tags (brought across with their content).
- Optionally, enrollments and lesson-completion progress.
- Completed enrollments are marked complete in Learnomy, so a learner who had finished a course keeps that standing.
Not migrated (by design)
These are stated up front in the dry run so there are no surprises:
- Certificates are not migrated. No source provides a reliable per-course certificate flow to carry over. After importing, enable certificates per course with a Learnomy template.
- Quiz attempt scores are not reconstructed. Learners who passed are marked complete, but per-question scores from old attempts are not carried over.
- Payments, pricing, coupons, and orders are never touched. Imported courses come in as free. Your money stays in your existing system. The import deliberately sets every migrated course to free access so that importing content can never affect billing.
The question-type fallback map
Learnomy and the source plugins do not support exactly the same set of question types. When the import meets a source question type that has no exact Learnomy match, it downgrades it to the closest Learnomy type, or skips it when there is no sensible equivalent. The dry run lists every downgrade and skip before you commit.
The default mapping is:
| Source question type |
Learnomy result |
| Image matching |
Matching |
| Image answering |
Short answer |
| Picture choice |
Multiple choice (single answer) |
| Picture reorder |
Ordering |
| Upload |
Essay |
| Code |
Essay |
| H5P |
Skipped (no equivalent) |
| Assessment answer |
Skipped (no equivalent) |
| Scale |
Skipped (no equivalent) |
Question types that map cleanly (for example true/false, single choice, multiple choice, short answer, essay, fill in the blank) are imported as their direct Learnomy equivalent and do not appear as warnings.
A skipped question is left out of the imported quiz and reported in the run warnings, so you can see exactly which questions need to be rebuilt by hand. Developers can change the default mapping with the learnomy_migration_question_type_fallbacks filter, and a per-run override can be passed from the command line.
The WP-CLI alternative
Everything the wizard does is also available from the command line through wp learnomy migrate. This is useful for large libraries, scripted migrations, or running an import over SSH. The source slugs are learndash, tutor, and lifterlms.
Preview an import (dry run, no writes):
wp learnomy migrate preview learndash
Limit which item types are previewed:
wp learnomy migrate preview learndash --entities=course,lesson,quiz
Run an import:
wp learnomy migrate run learndash
Run a subset, or preview from the run command:
wp learnomy migrate run tutor --entities=course,section,lesson
wp learnomy migrate run tutor --dry-run
Run a large import in the background (batched and resumable through Action Scheduler), returning a run id to poll:
wp learnomy migrate run learndash --async
Check the progress of a queued run:
wp learnomy migrate status <run-id>
List recent runs:
wp learnomy migrate runs
Undo a run (delete exactly what that run created, including child rows and tag links):
wp learnomy migrate undo <run-id>
You can also pass a JSON selection and mapping file with --map=<file>, which accepts the same entity selection and question_type_fallbacks overrides the wizard uses internally.
Every import prints its run id when it finishes, so you can undo it later if needed.
Troubleshooting
A source does not appear in the wizard. The source is only listed as available when its plugin is active and it has at least one course. Confirm LearnDash, Tutor LMS, or LifterLMS is still active and has content.
An import seems stuck partway through. Background imports run in batches through Action Scheduler. If batches are not advancing, your site's scheduled tasks may not be running. Confirm Action Scheduler is processing (it is shared with WooCommerce and other plugins) or re-run the import on the command line without --async so it runs inline in one pass.
Re-running the same import. Re-running is safe. Each source item is remembered once imported, so a second run skips items that already came across rather than creating duplicates. The "skipped" counts in the progress view reflect this.
You want to start over. Use the undo action to delete everything a run created, then run the import again with a different selection. In the wizard, undo is available from the recent-runs list. On the command line, use wp learnomy migrate undo <run-id>. Undo removes the courses, lessons, quizzes, and questions that the run created, along with their child rows and tag links.
Some questions did not come across. Check the run warnings. Question types with no Learnomy equivalent are skipped and listed by name, so you know which ones to rebuild manually. See the question-type fallback map above.
Imported courses show as free. This is intentional. The import never touches pricing or payments, so every migrated course comes in as free. Set up pricing for the imported courses afterwards in Learnomy.